Clothesline is installed!
Now that the cement had a day to set, we were happy to see a nice, mild, cloudy day for part 2 of our clothesline installation project. It almost felt like fall out there today!
We started (and I use the word “we” liberally here, because these steps were all Steve, and I was relegated to the tool-picker-upper and photographer roles) by drilling a hole and installing a long J hook with a washer and double nuts.


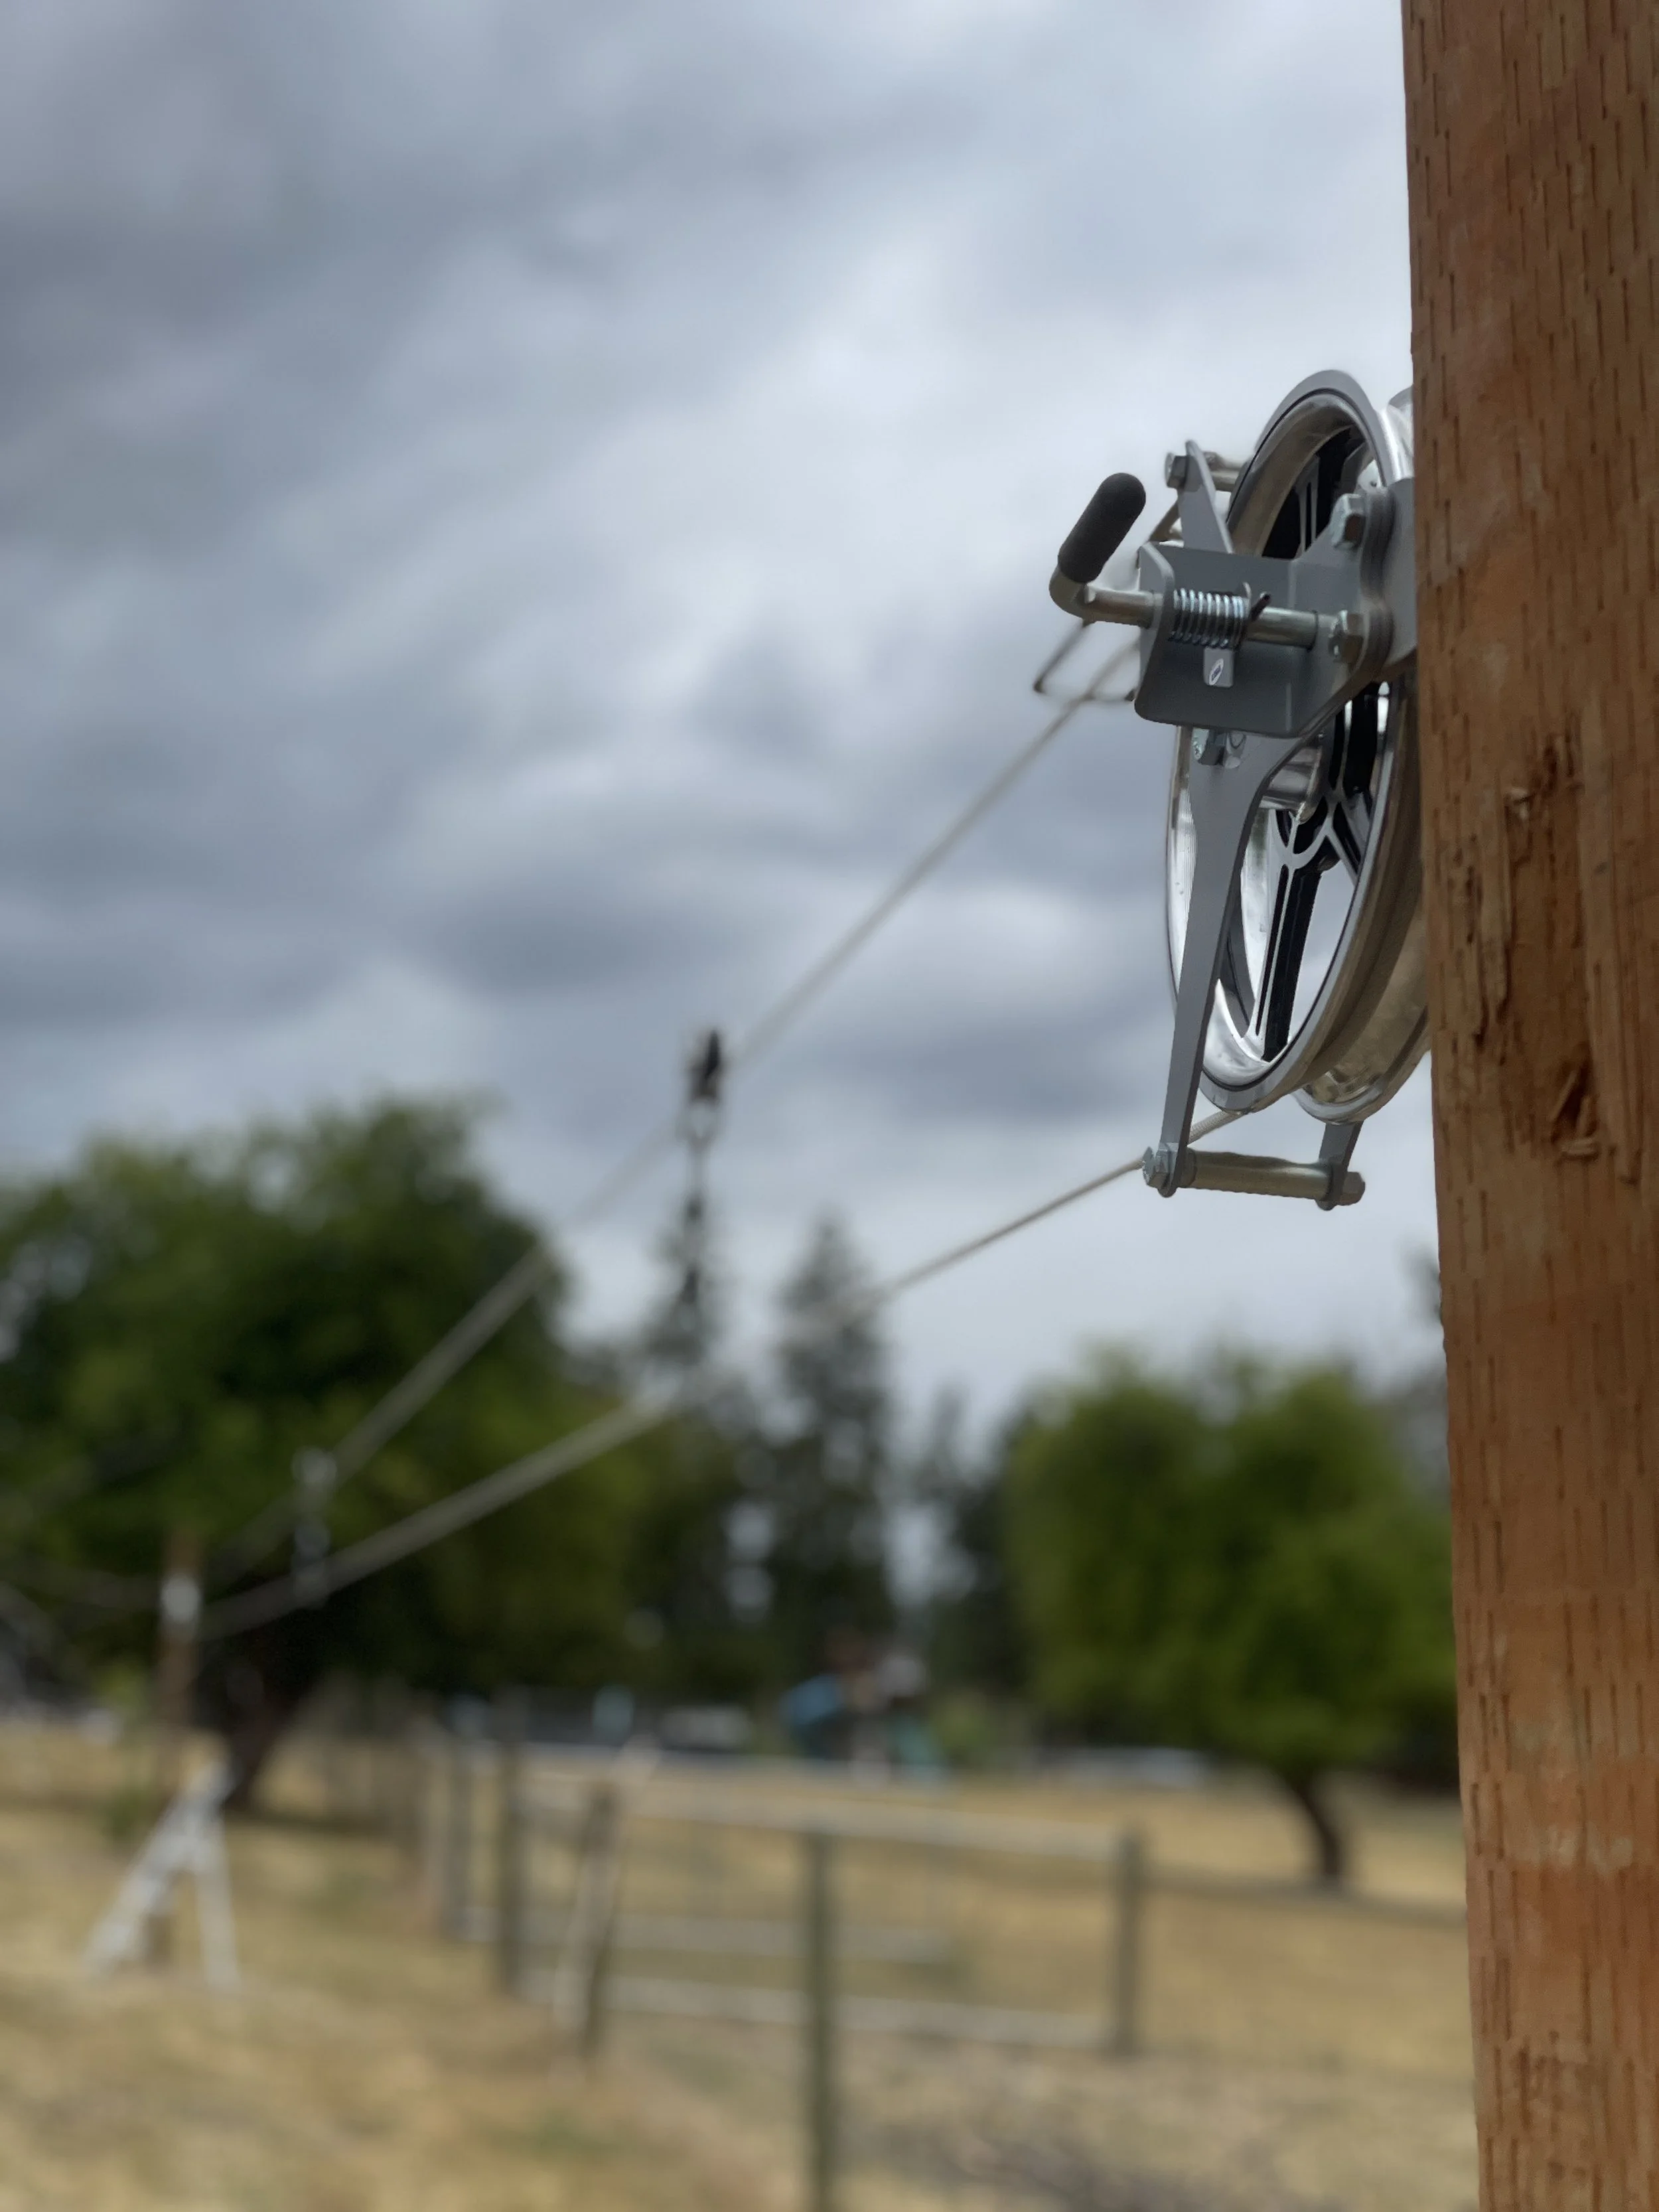
The mechanism itself is just a pulley system with a track for plastic coated metal wire. One end of the pulley has a lock so that it doesn’t accidentally spin. Super high quality feel to the pieces.


The rectangular “guide” on the top of one end holds the movable spacers when they are not in use, which will make sense in future photos.


A tension ratchet component is used to establish and maintain the tension. You thread the line through both pulleys and it and crank away until it is nice and taut, cutting away the excess.


The goats really enjoyed watching us work. Tex and Walker stay at a safe distance, but Sammy gets right up in the action.


Here is how it works, just slide, clip, and slide. So smooth!
We originally thought we would need to trim the top of the boards. We have learned to buy longer than we think we need and then trim off the tops of fence posts, because we can never be sure just how deep of a hole we will be able to drill. But for this we are going to leave them as they are for now. Elijah will have to cut down the top of a dead tree that is basically in the middle of the clothesline stretch, and the sun will need to come back out, and then they can use away! A really solid, well-built solution.