
Peach pie, anyone?
I REALLY wanted to make my pie crust from scratch. But honestly, just the thought of starting that experiment was giving me anxiety, though for the life of me I can’t really explain why. Last month while we were hanging out at the nearby cherry orchard I met a gal who wrote a terrific cookbook all about pie-making. She was very inspiring and so sweet. And if she ever offers another local class, I’ll be all over it. But in the meantime - you can’t let a little baking anxiety keep you from making a delicious peach pie from those fresh-picked peaches sitting on your counter!
So instead of a post highlighting my incredible skills as a pie crust-making prodigy, I thought I’d share the behind-the-scenes shortcut I use to making a great looking latticed (albeit store-bought) pie crust!
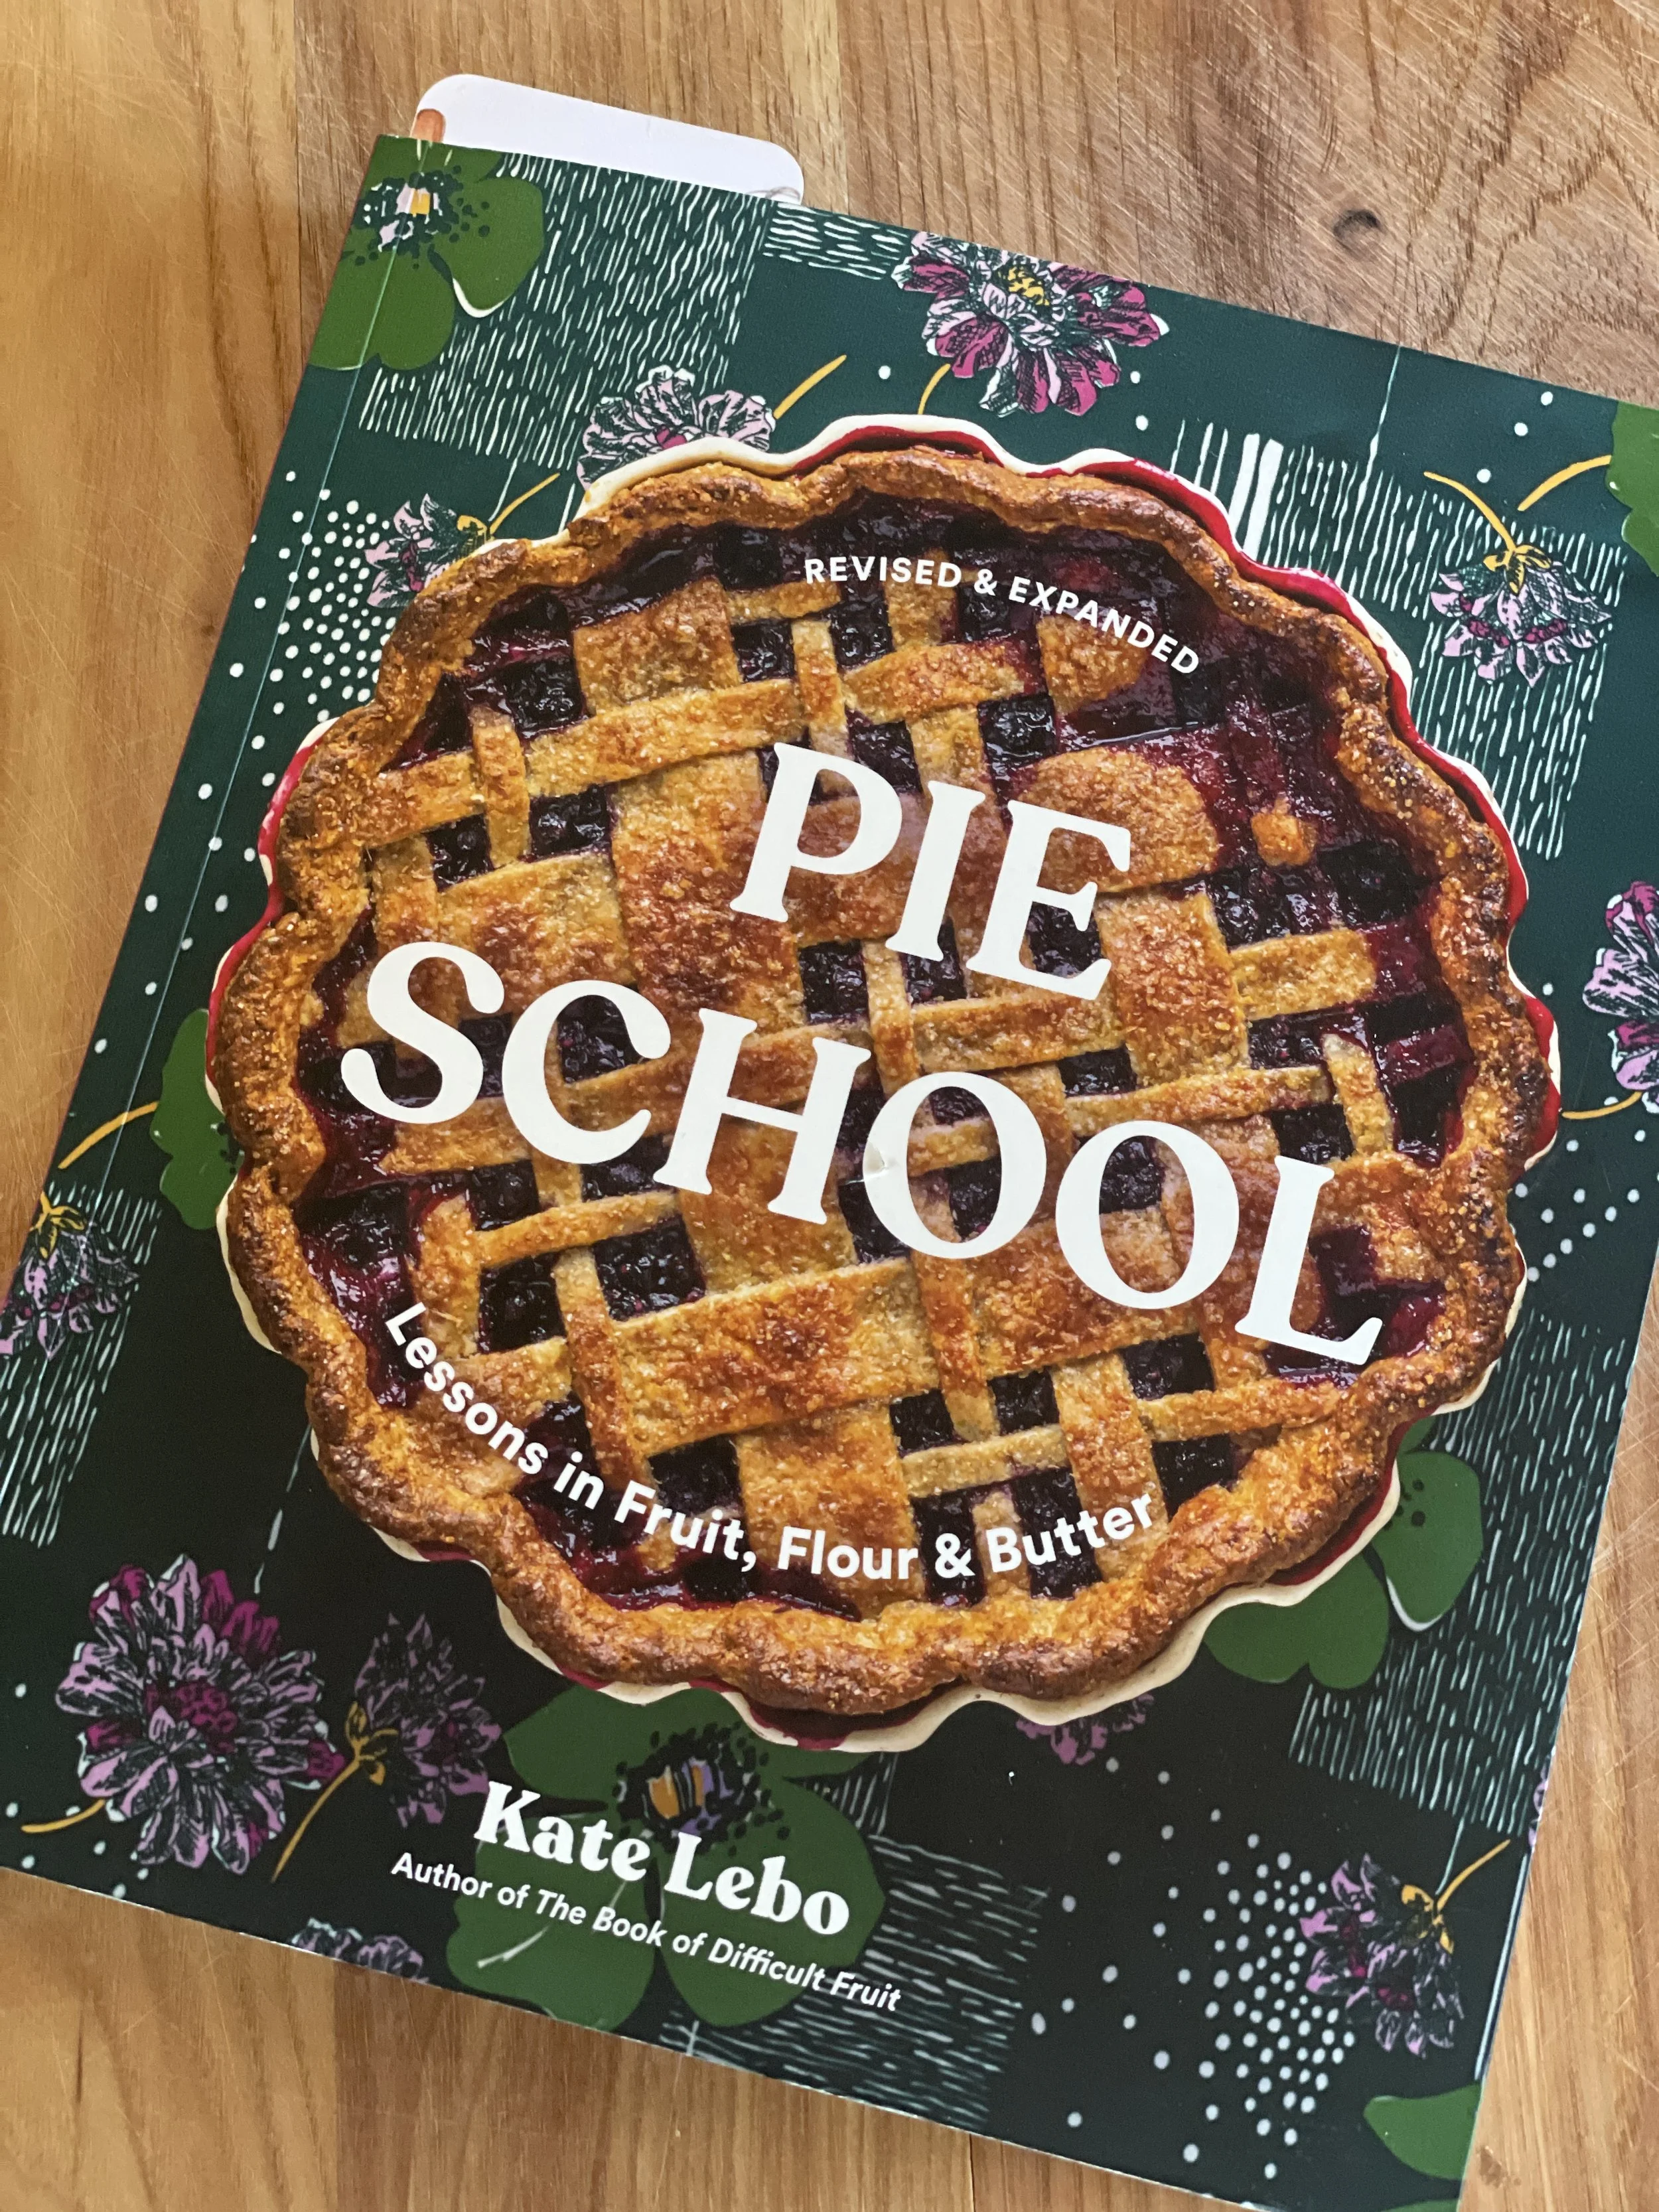
Sorry, Kate - I promise I will attend your “Pie School” lessons in the future!
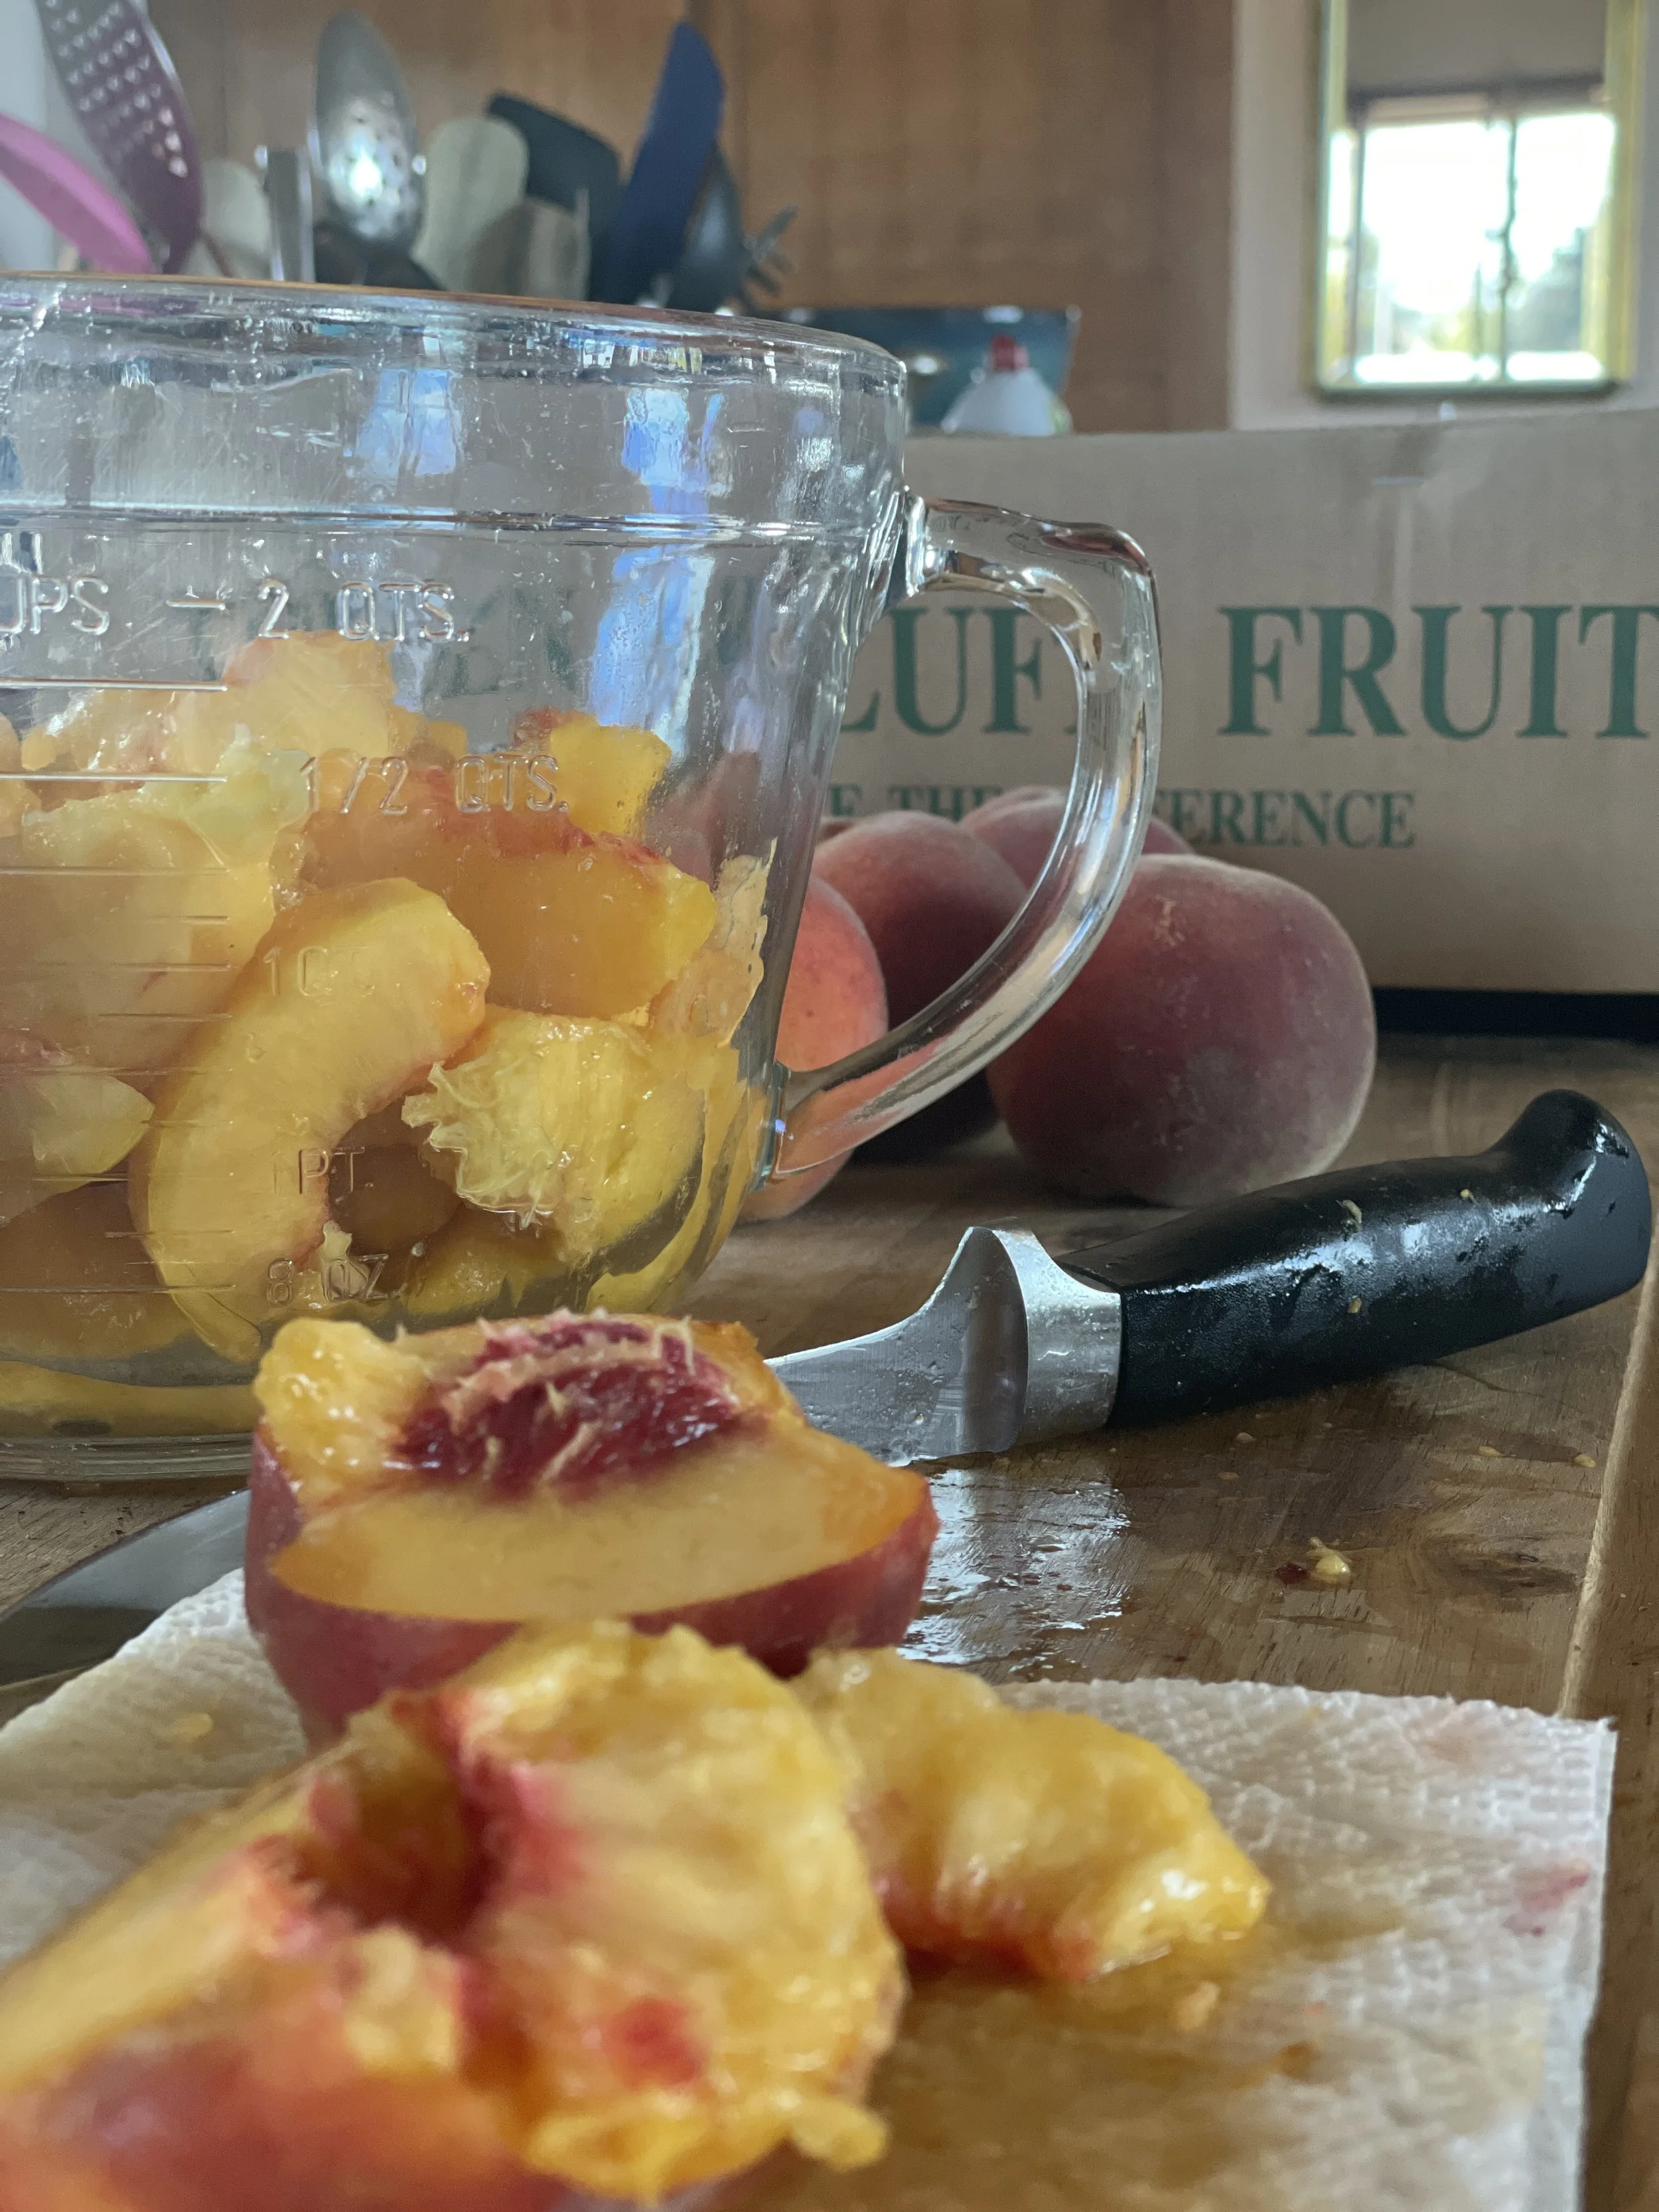
So much juiciness! These are red haven peaches, with firm flesh and a sweet-tart flavor. The skins peeled off really easily (without blanching.) They are also freestone, which means the pits come out fairly easily. But cutting them up is still a juicy mess! I probably should have asked ChatGPT for some slicing tips.
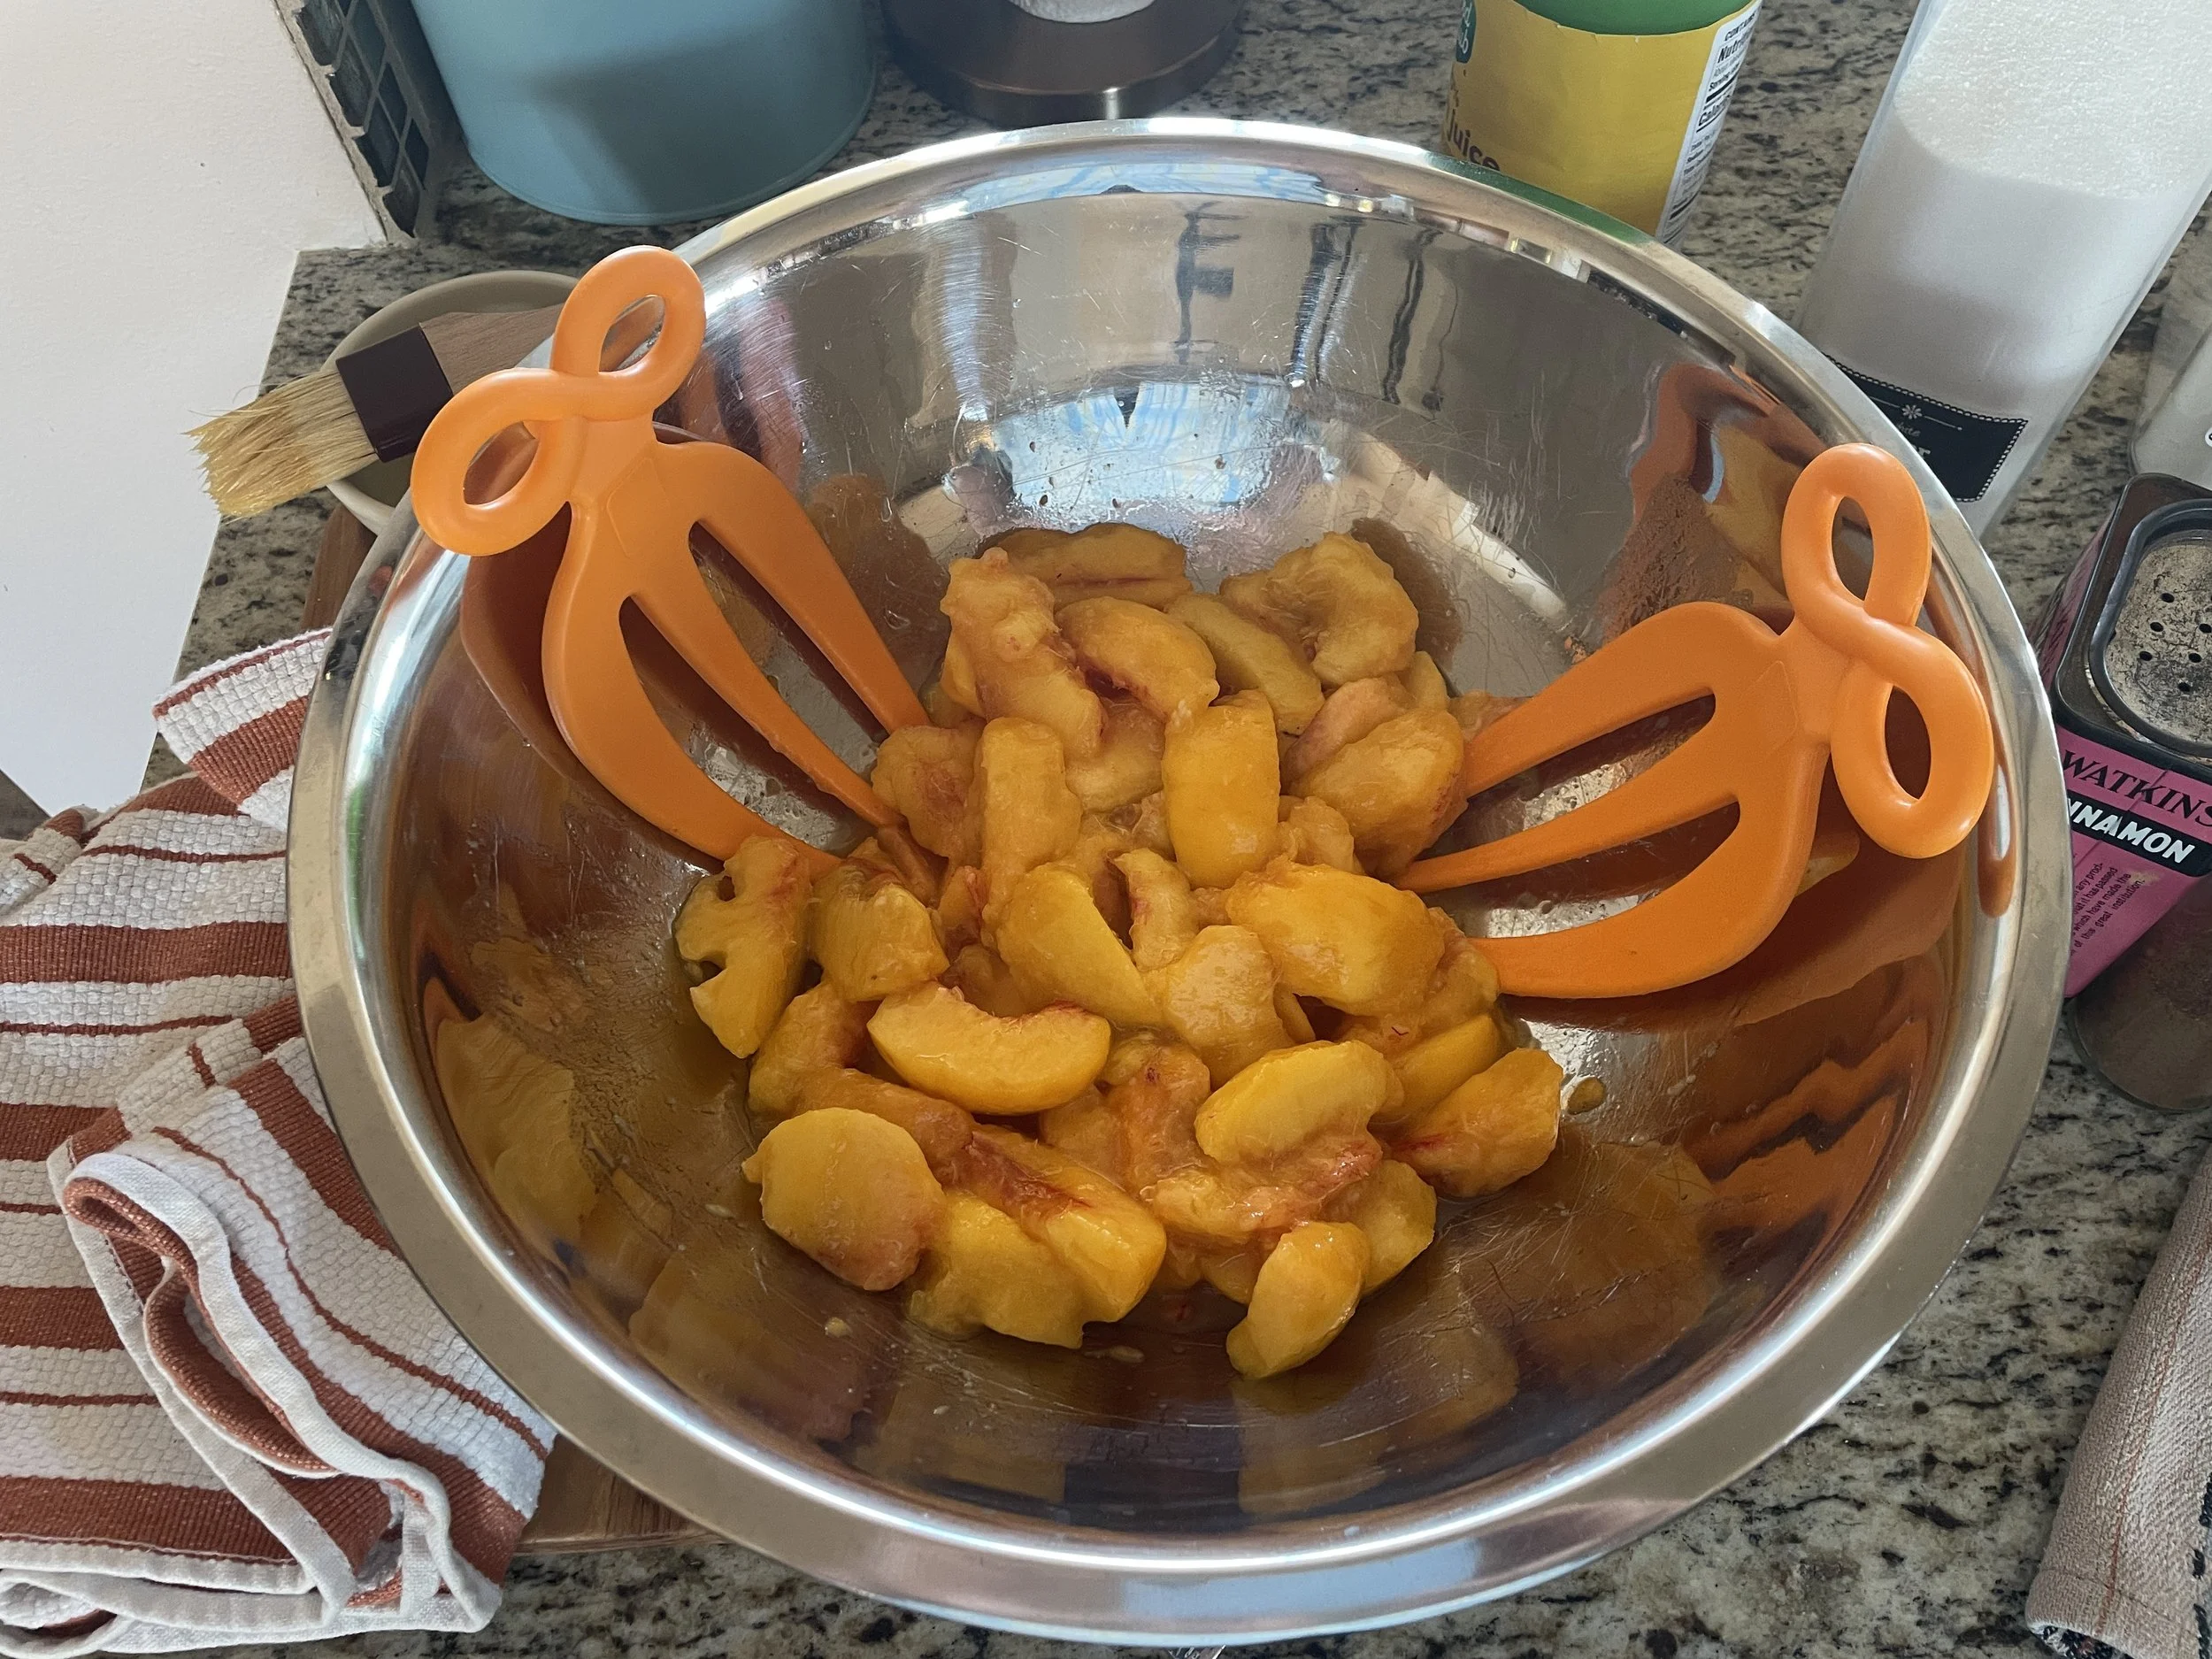
Toss the peach slices with a little lemon juice.

Whisk together some flour, sugar, cinnamon, nutmeg, and salt…
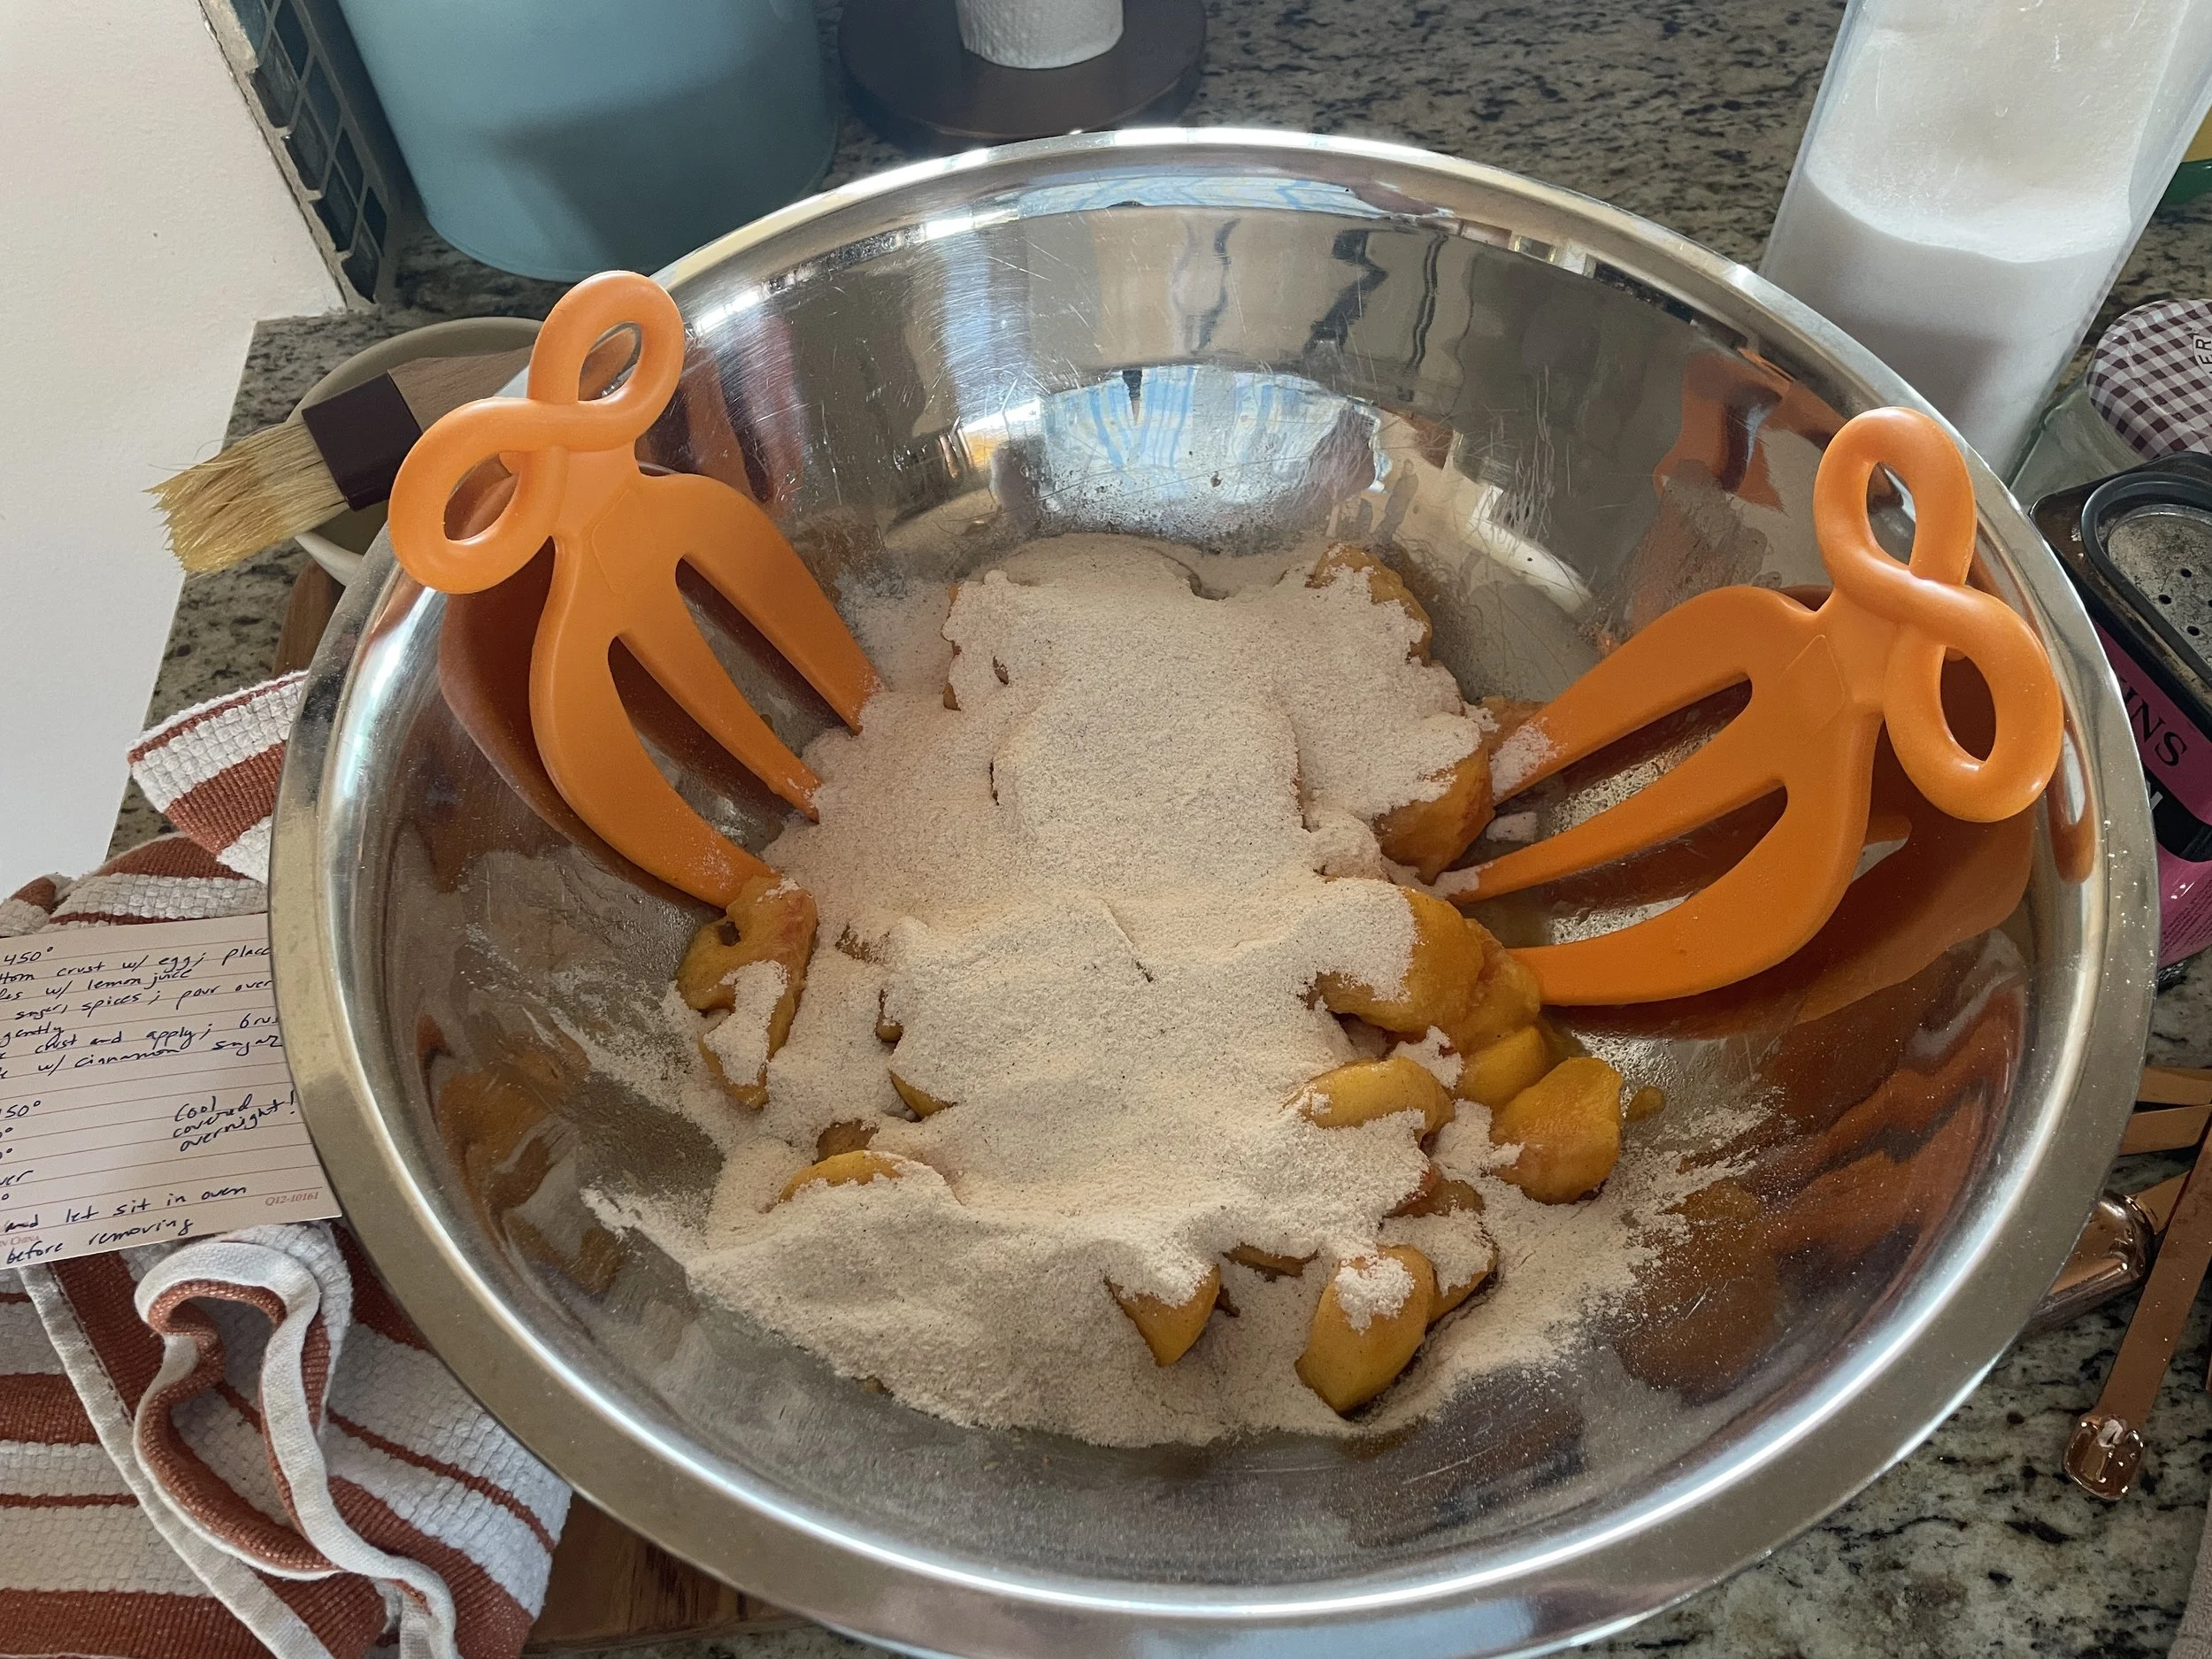
…and toss the dry ingredients with the peaches. I love these salad tongs that Mike & Leslie bought us about 25 years ago - they come in so handy for so many things!
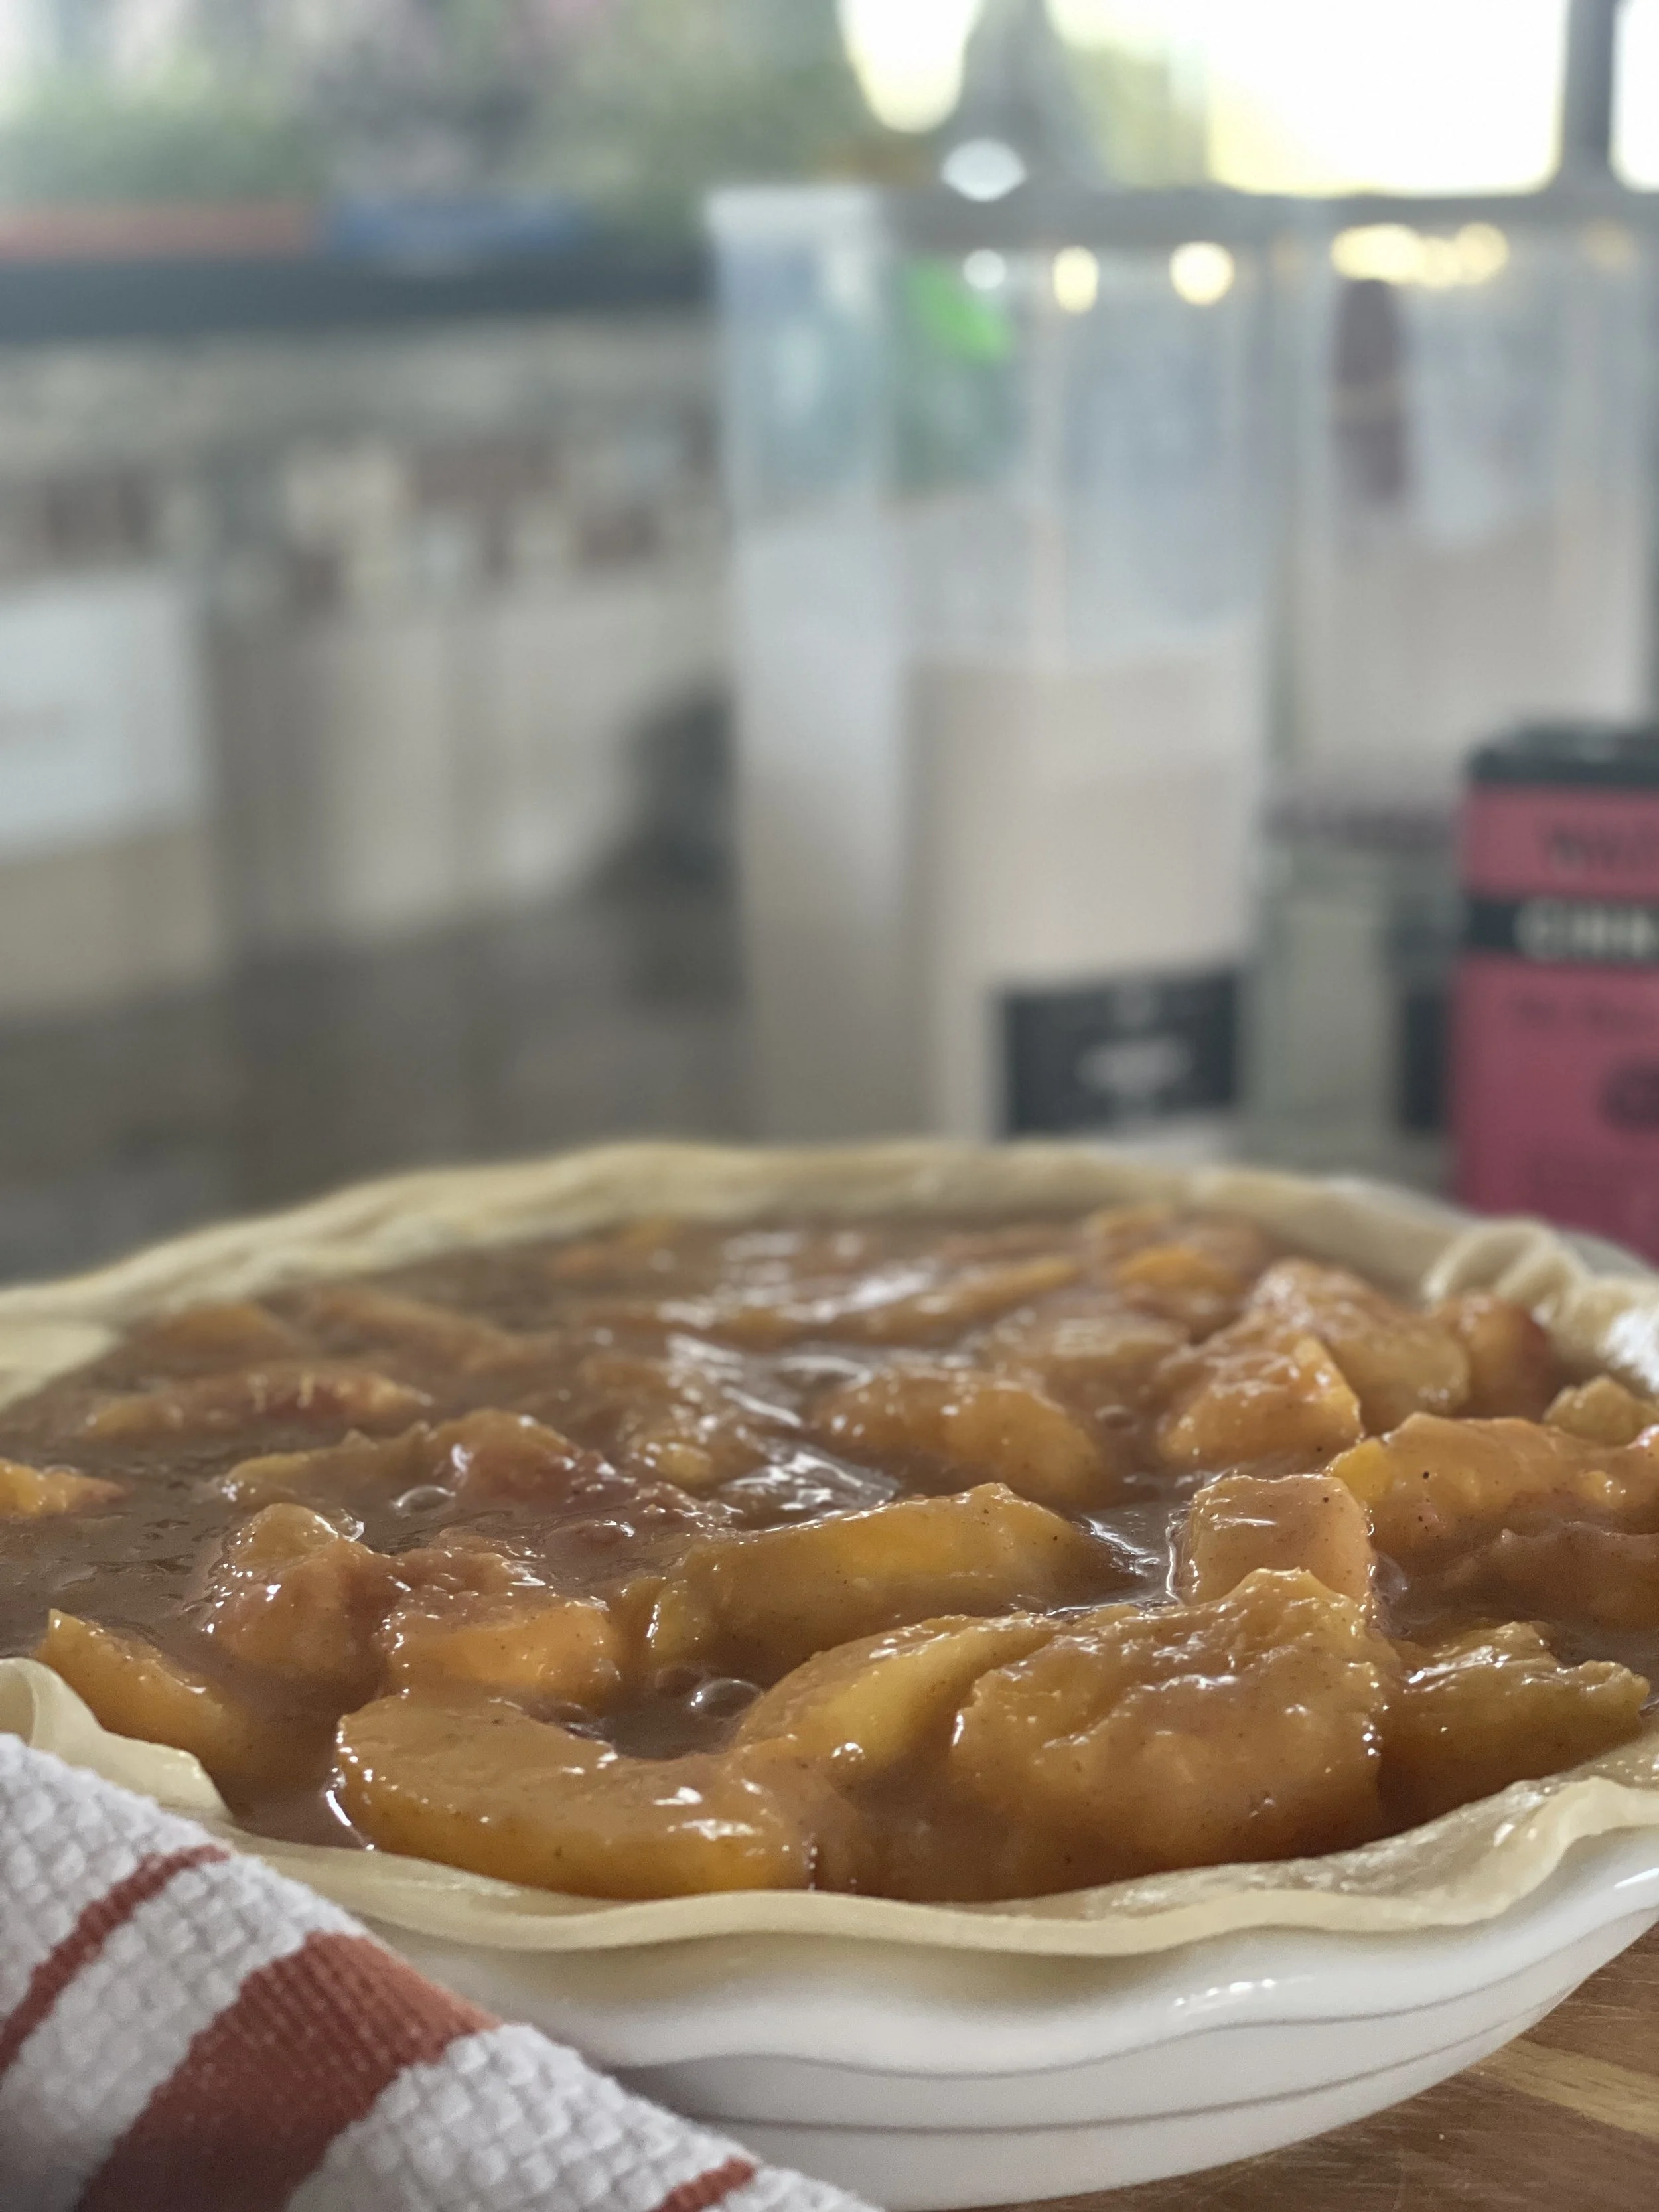
Prepare the bottom crust, brush with some egg wash, and toss in the peach mixture.

If you are using a solid top crust, this is when you also want to put in your pie bird. Pie birds allow the steam to escape vs. cracking your crust. They are open at the bottom and top. Since I am using a latticed top, there is no need for a pie bird. But you have to admit, this little guy is pretty cute!
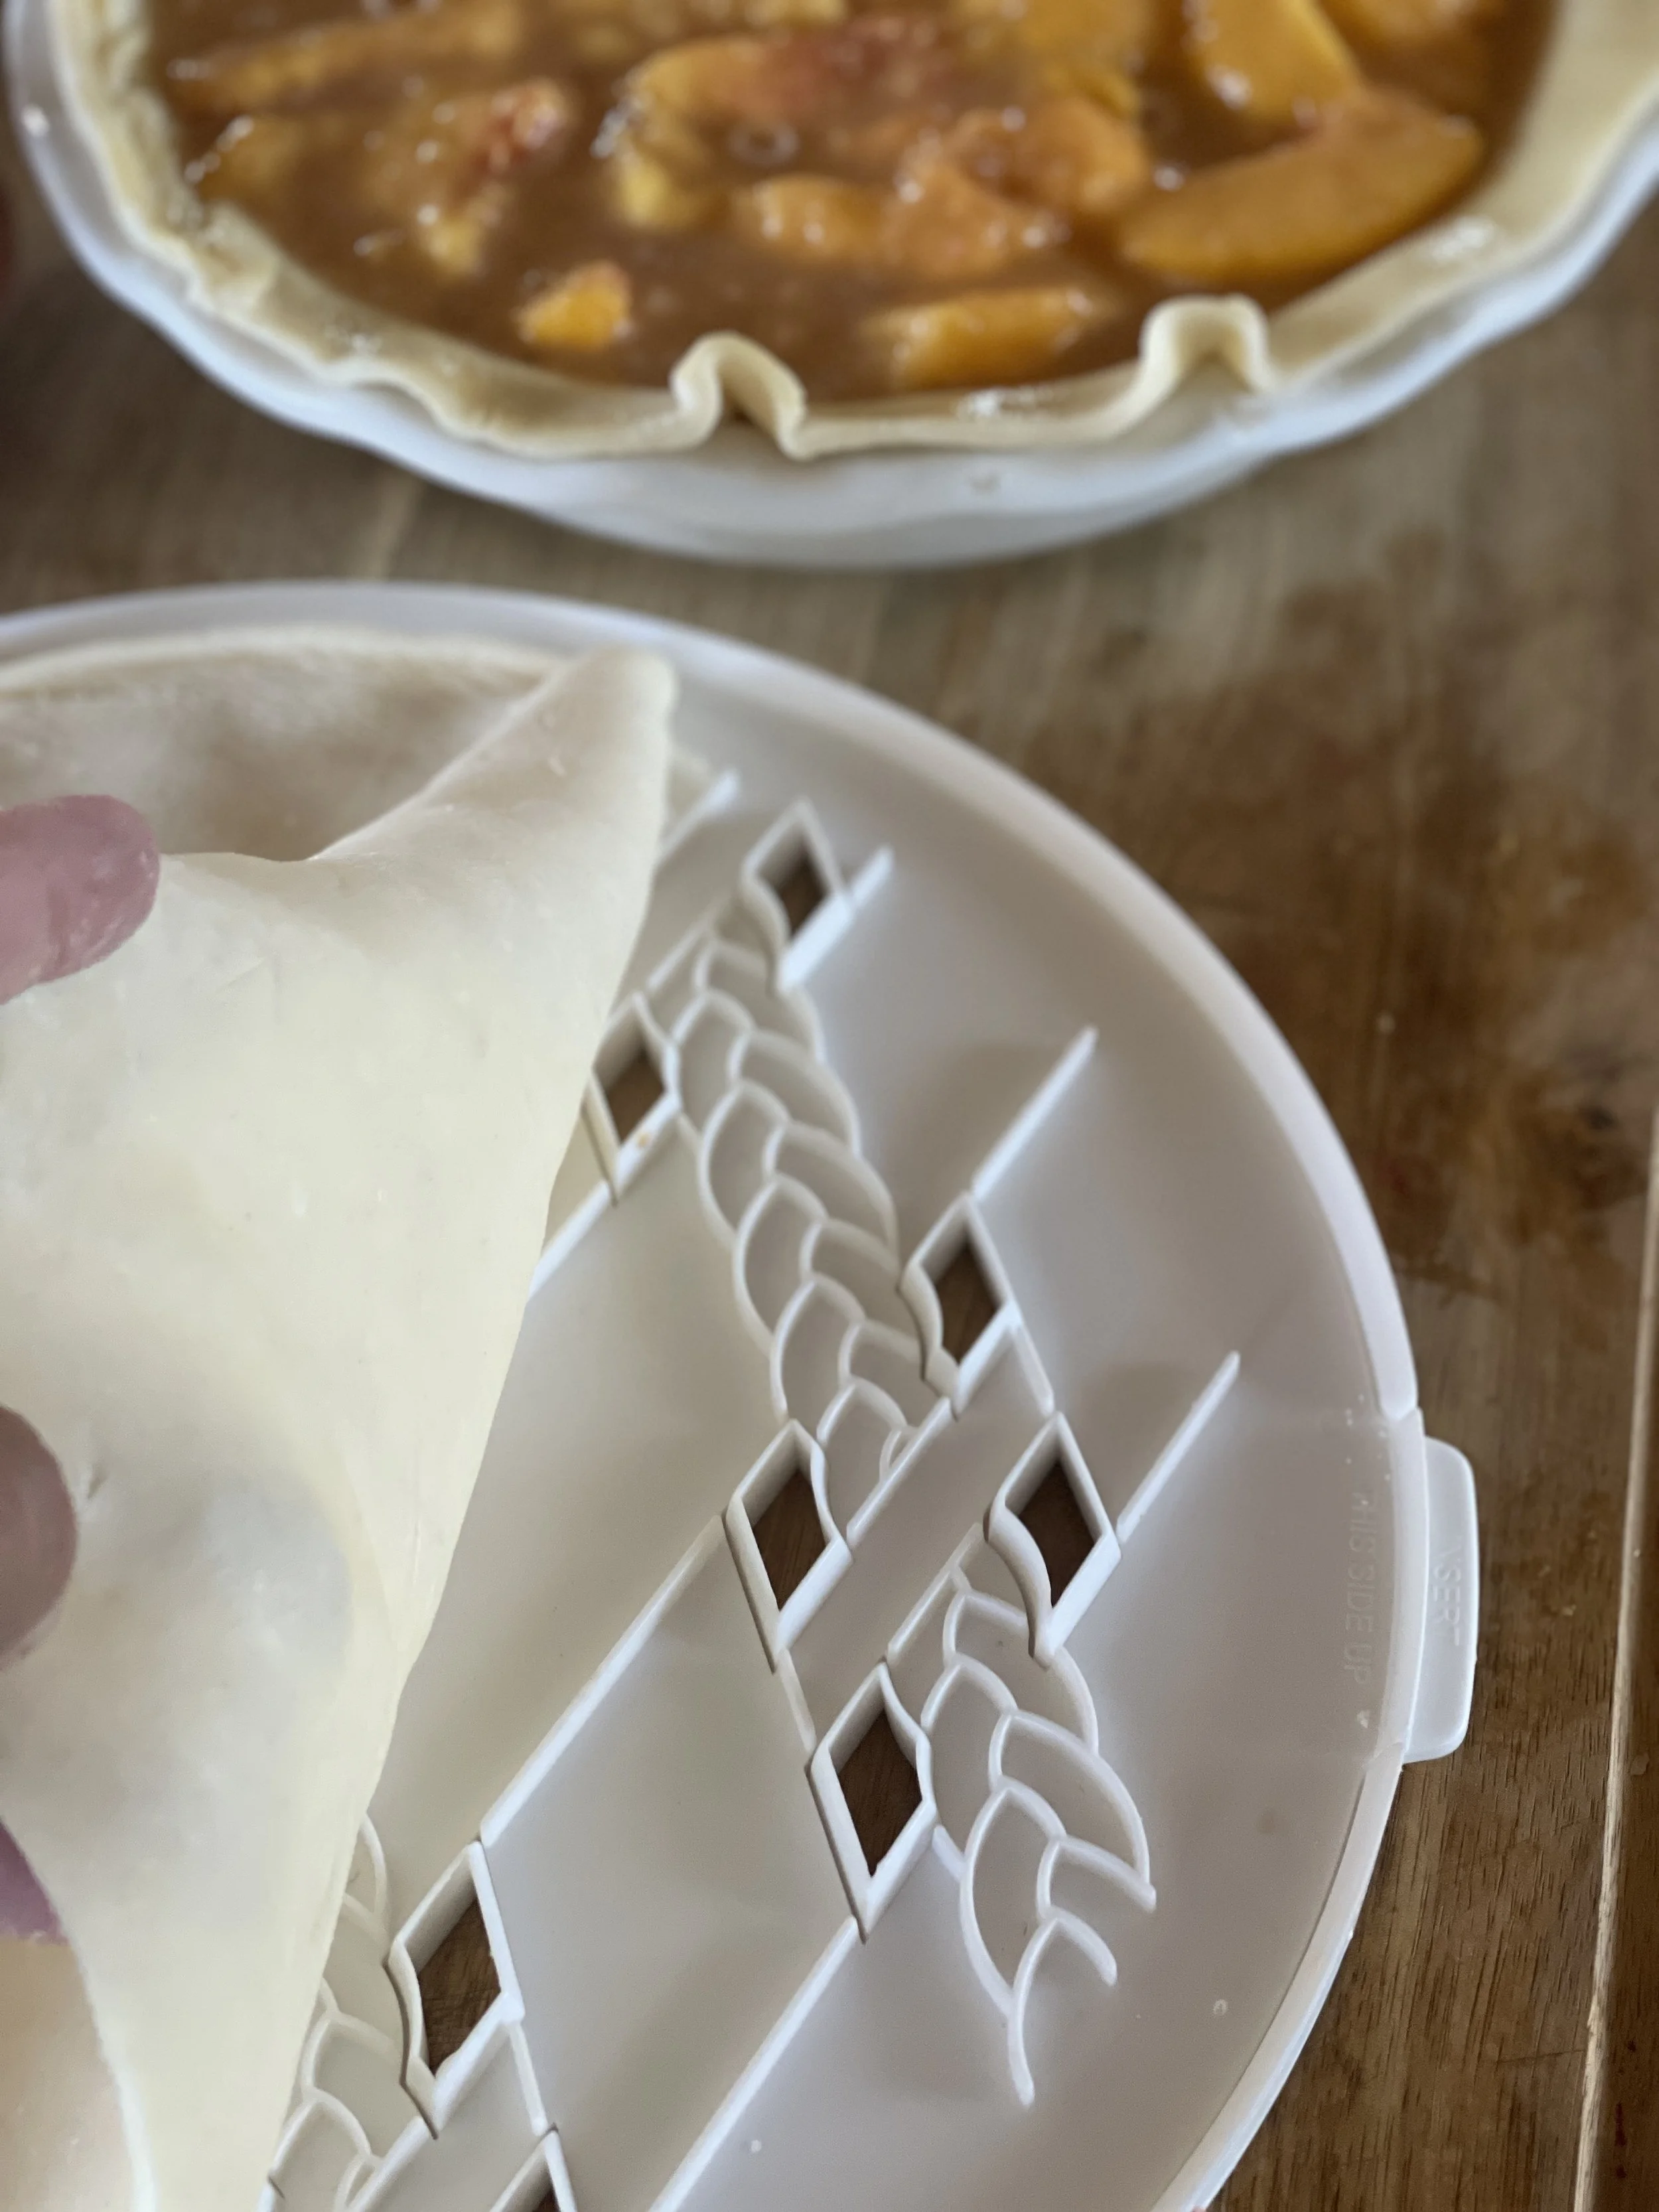
Here is my favorite “life hack”, courtesy of Williams-Sonoma. The form has two pieces, a base and an insert. You roll your dough over the top, and it cuts out and impresses your design.
Then you use the little side handles to lift the insert off the base…
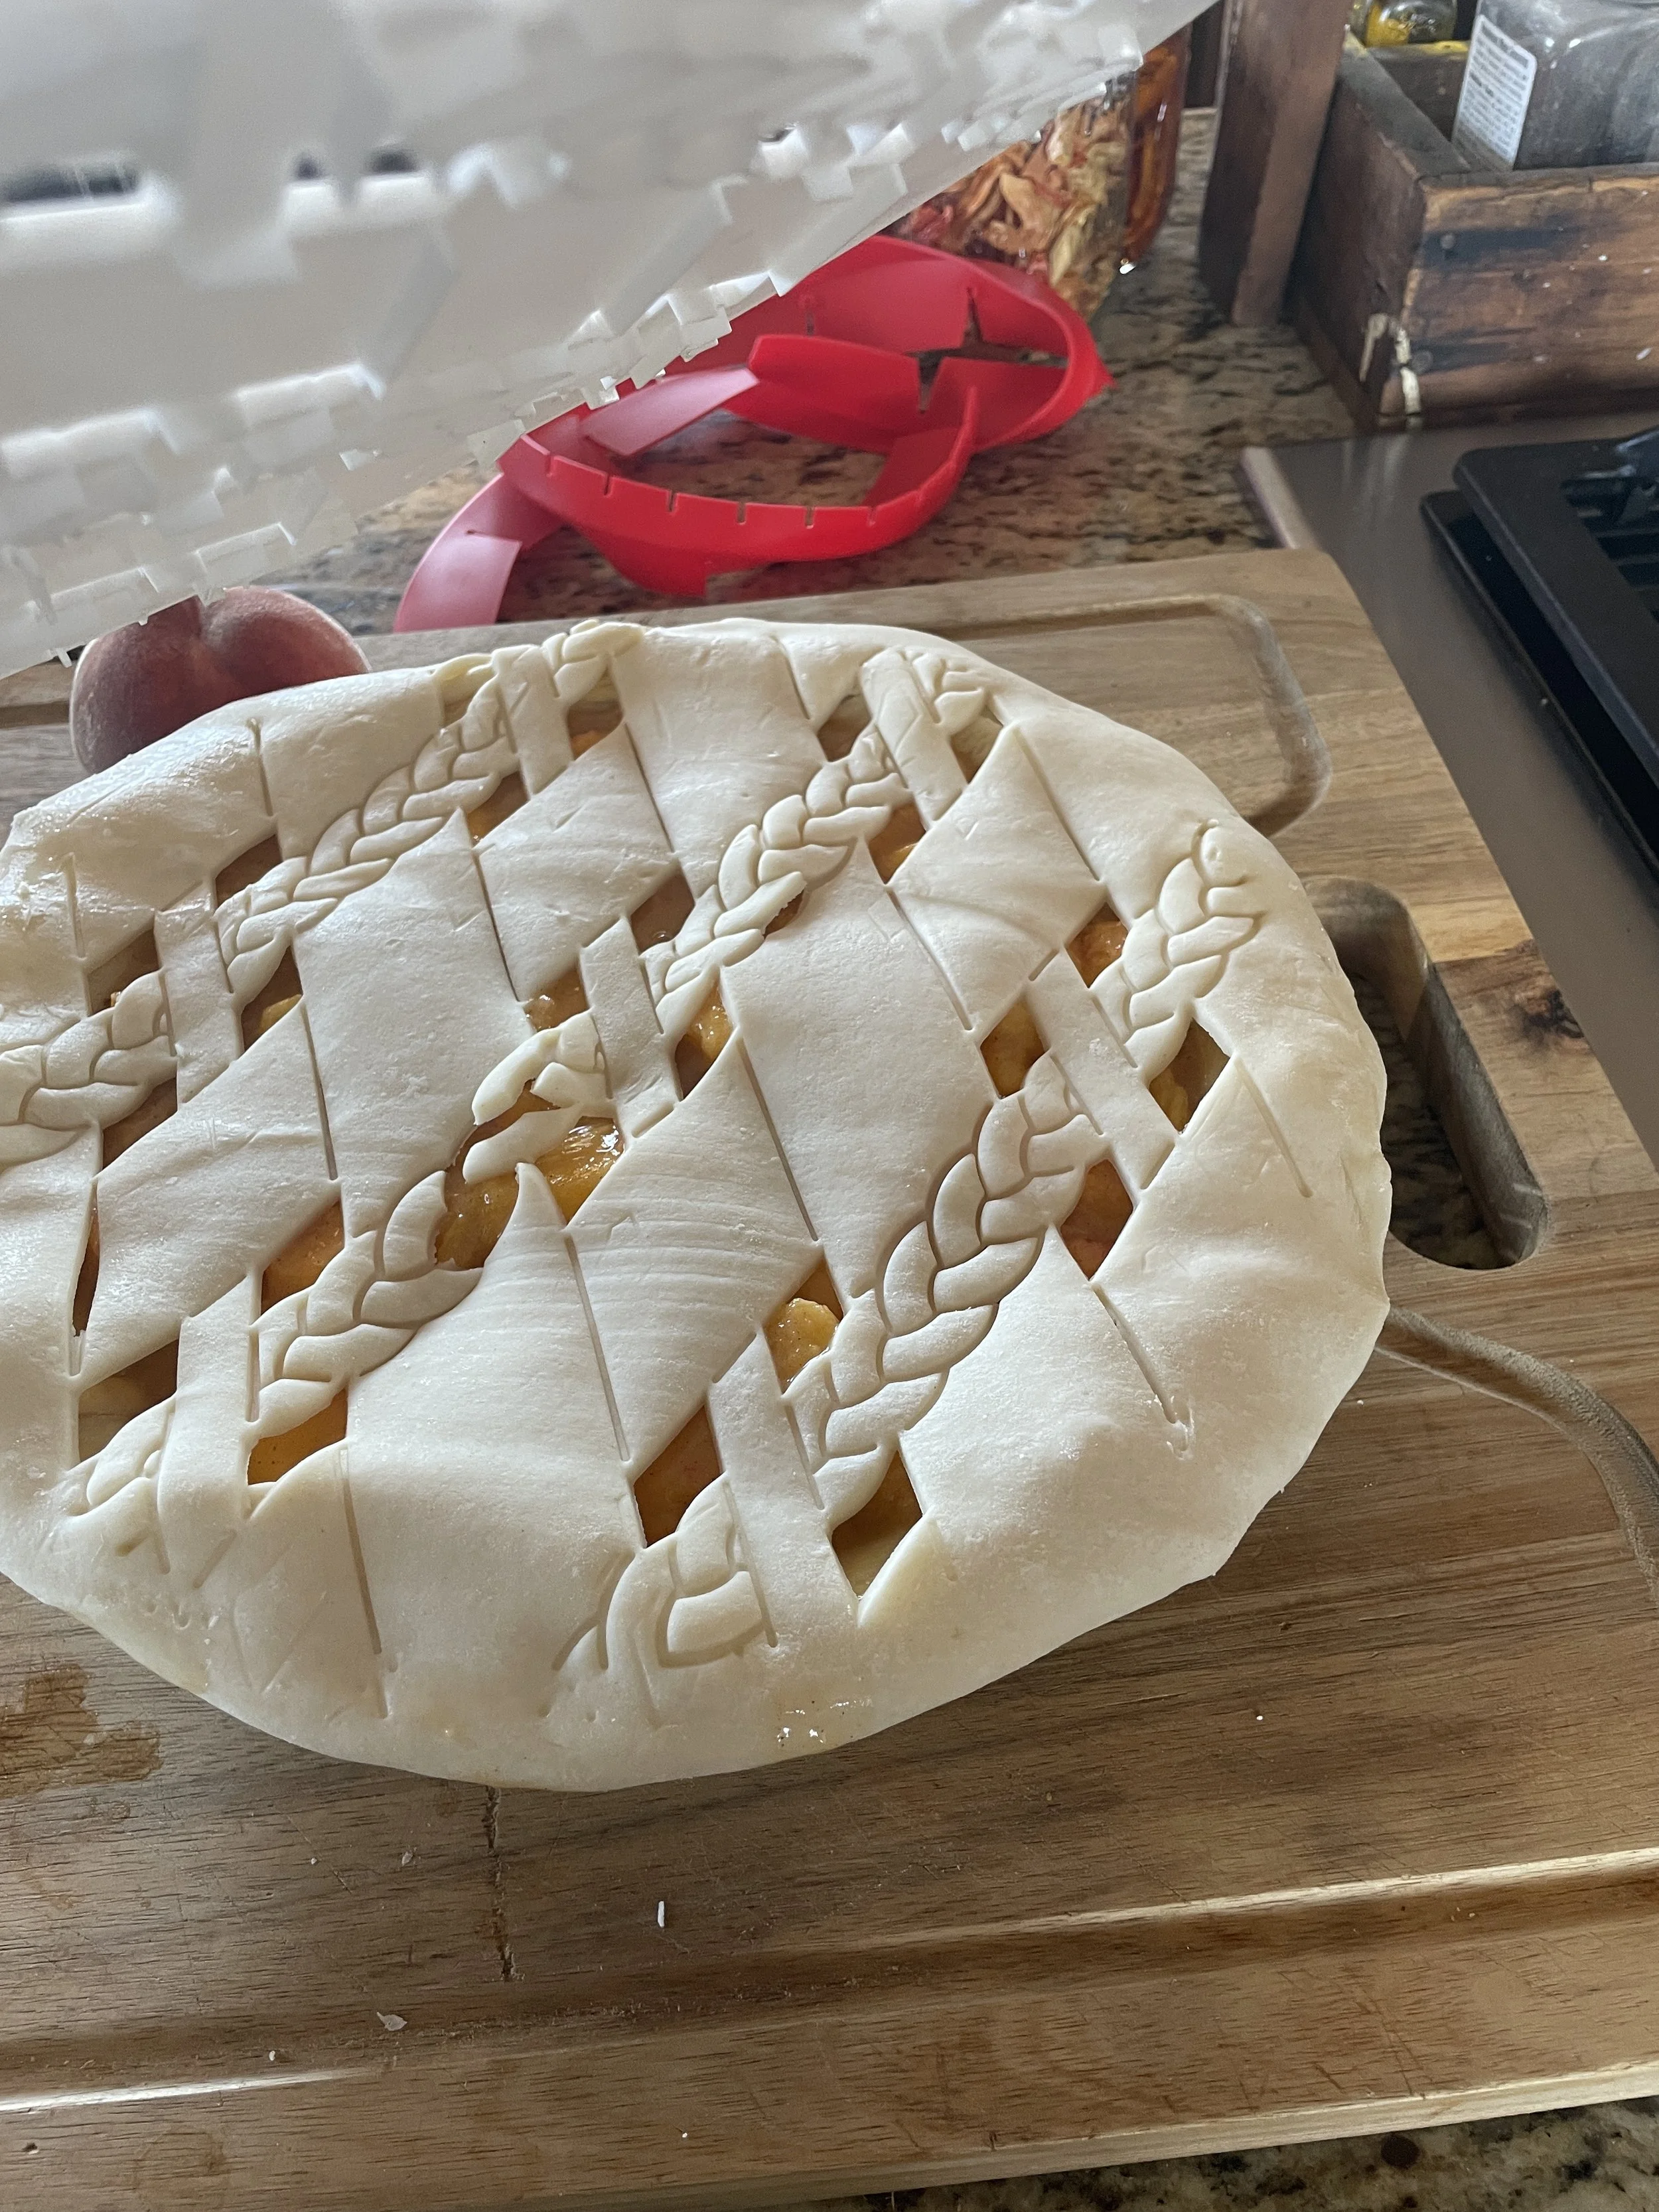
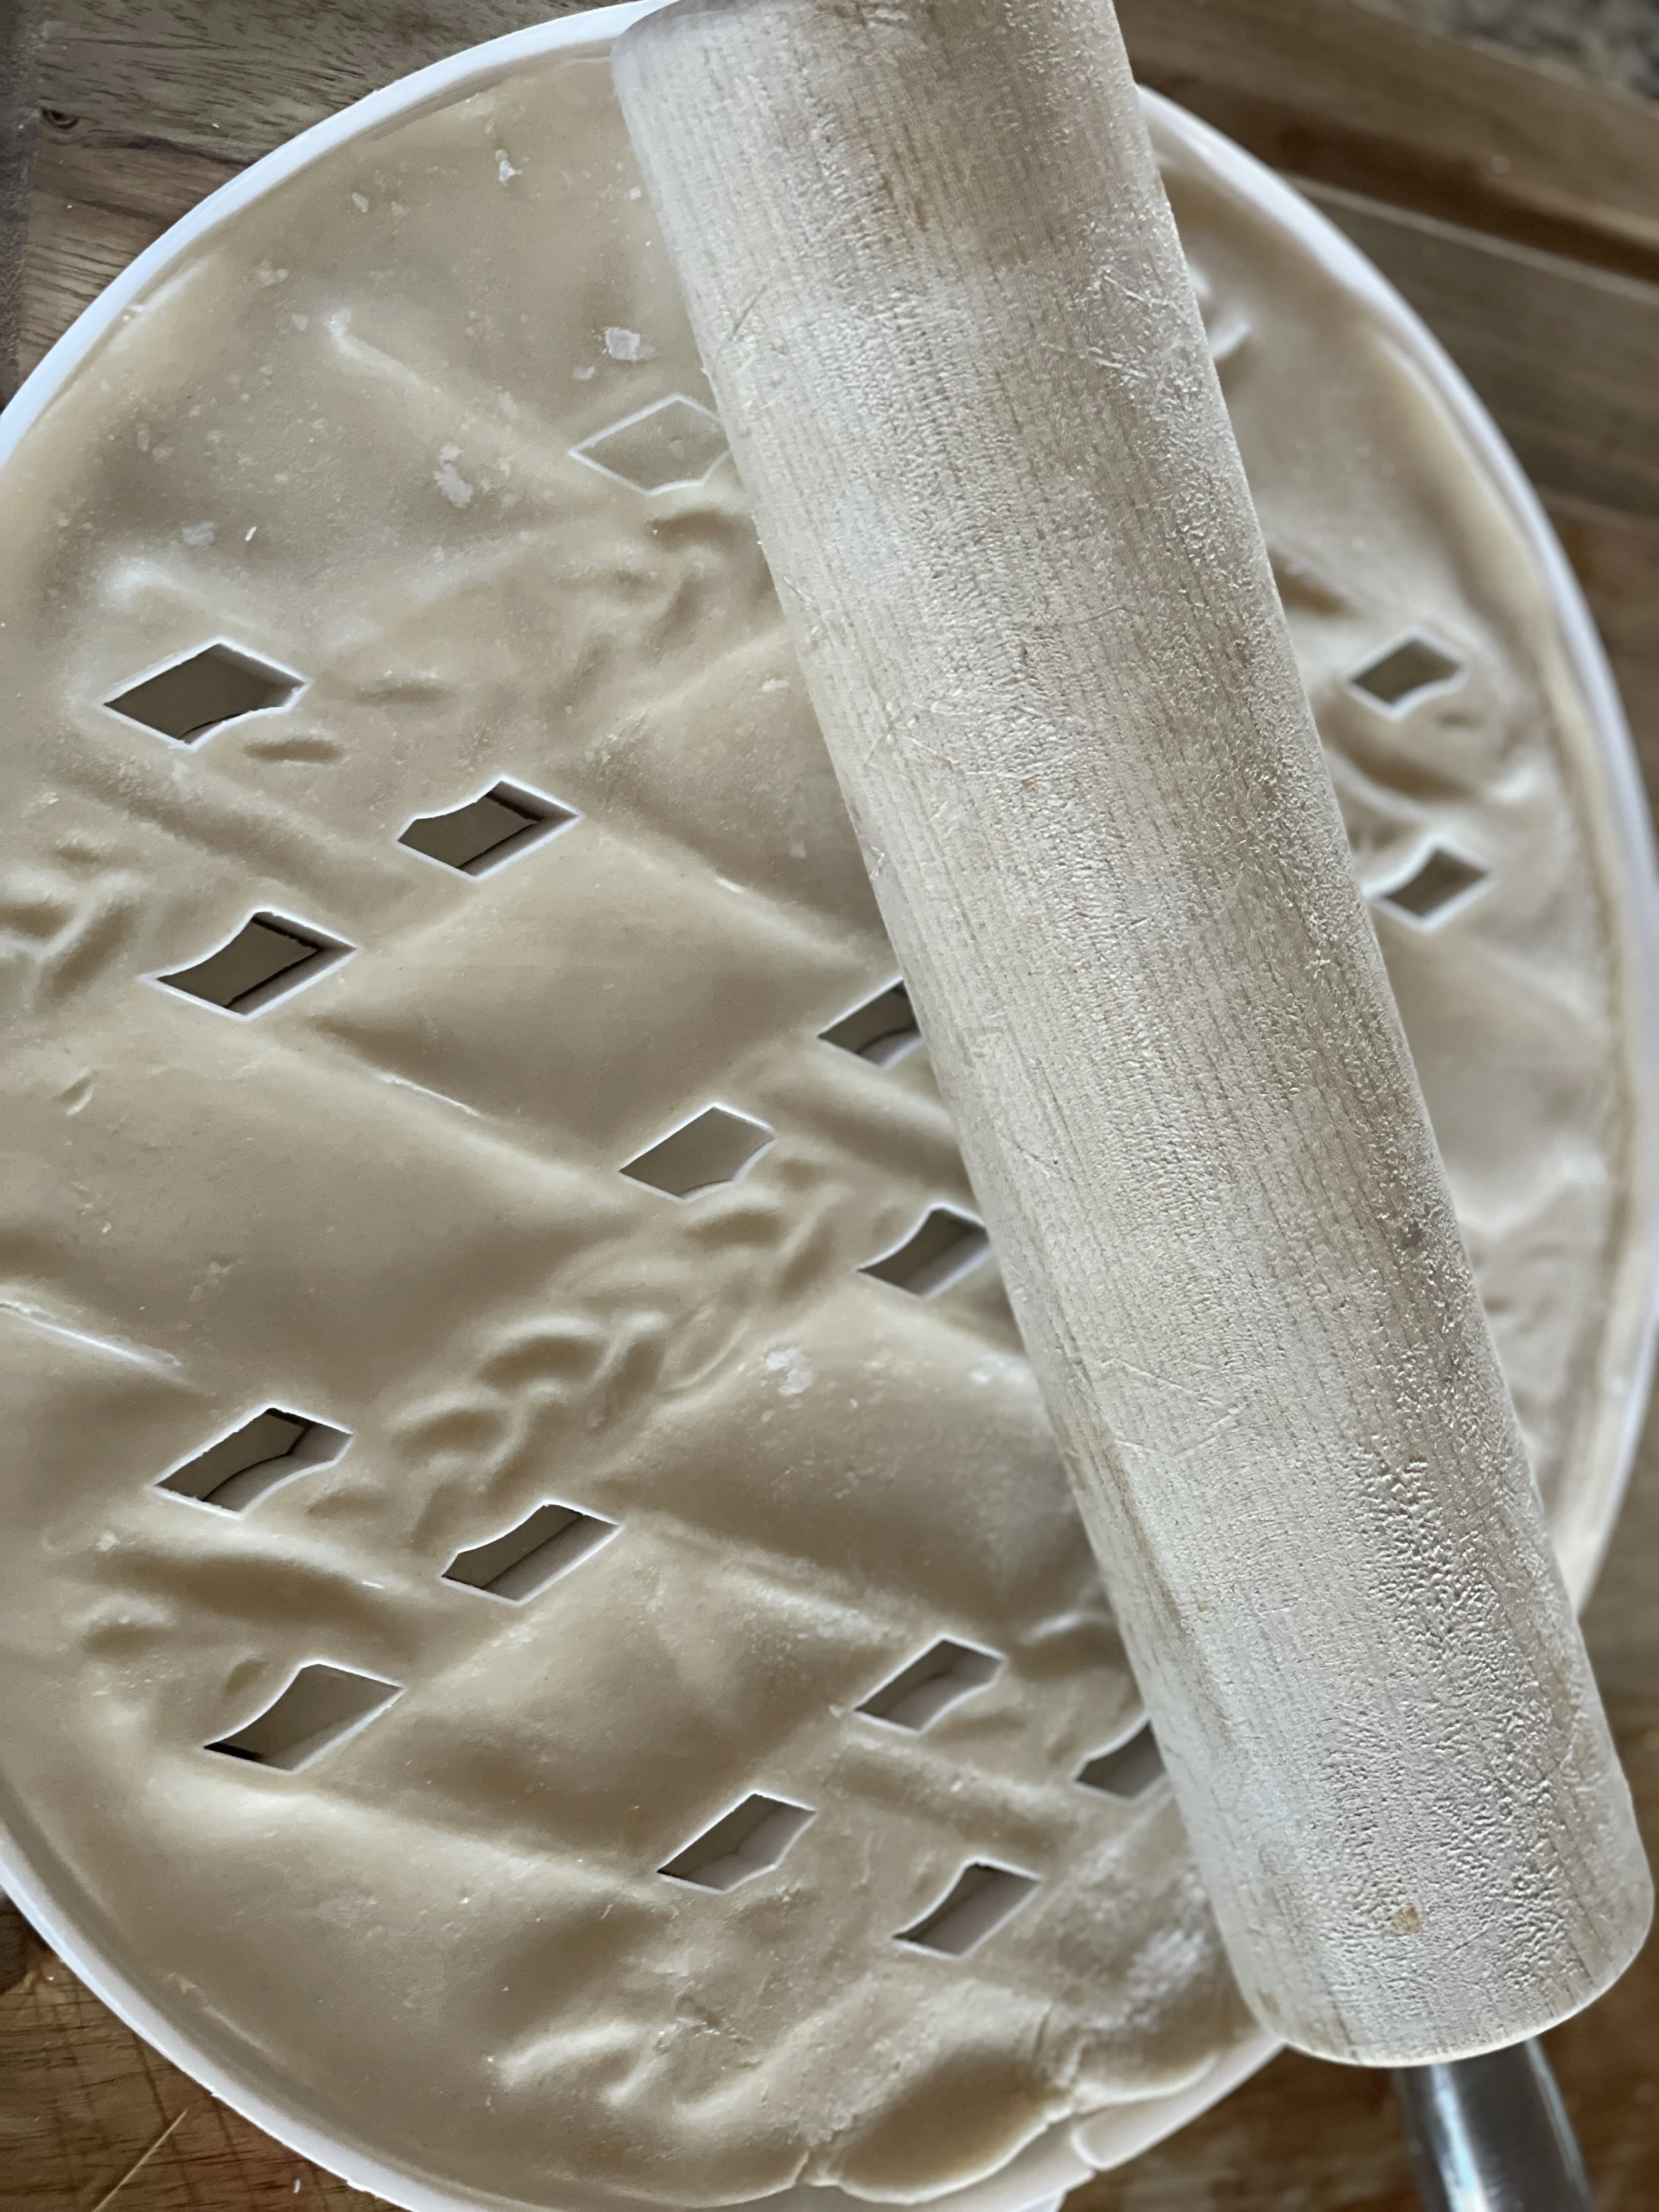
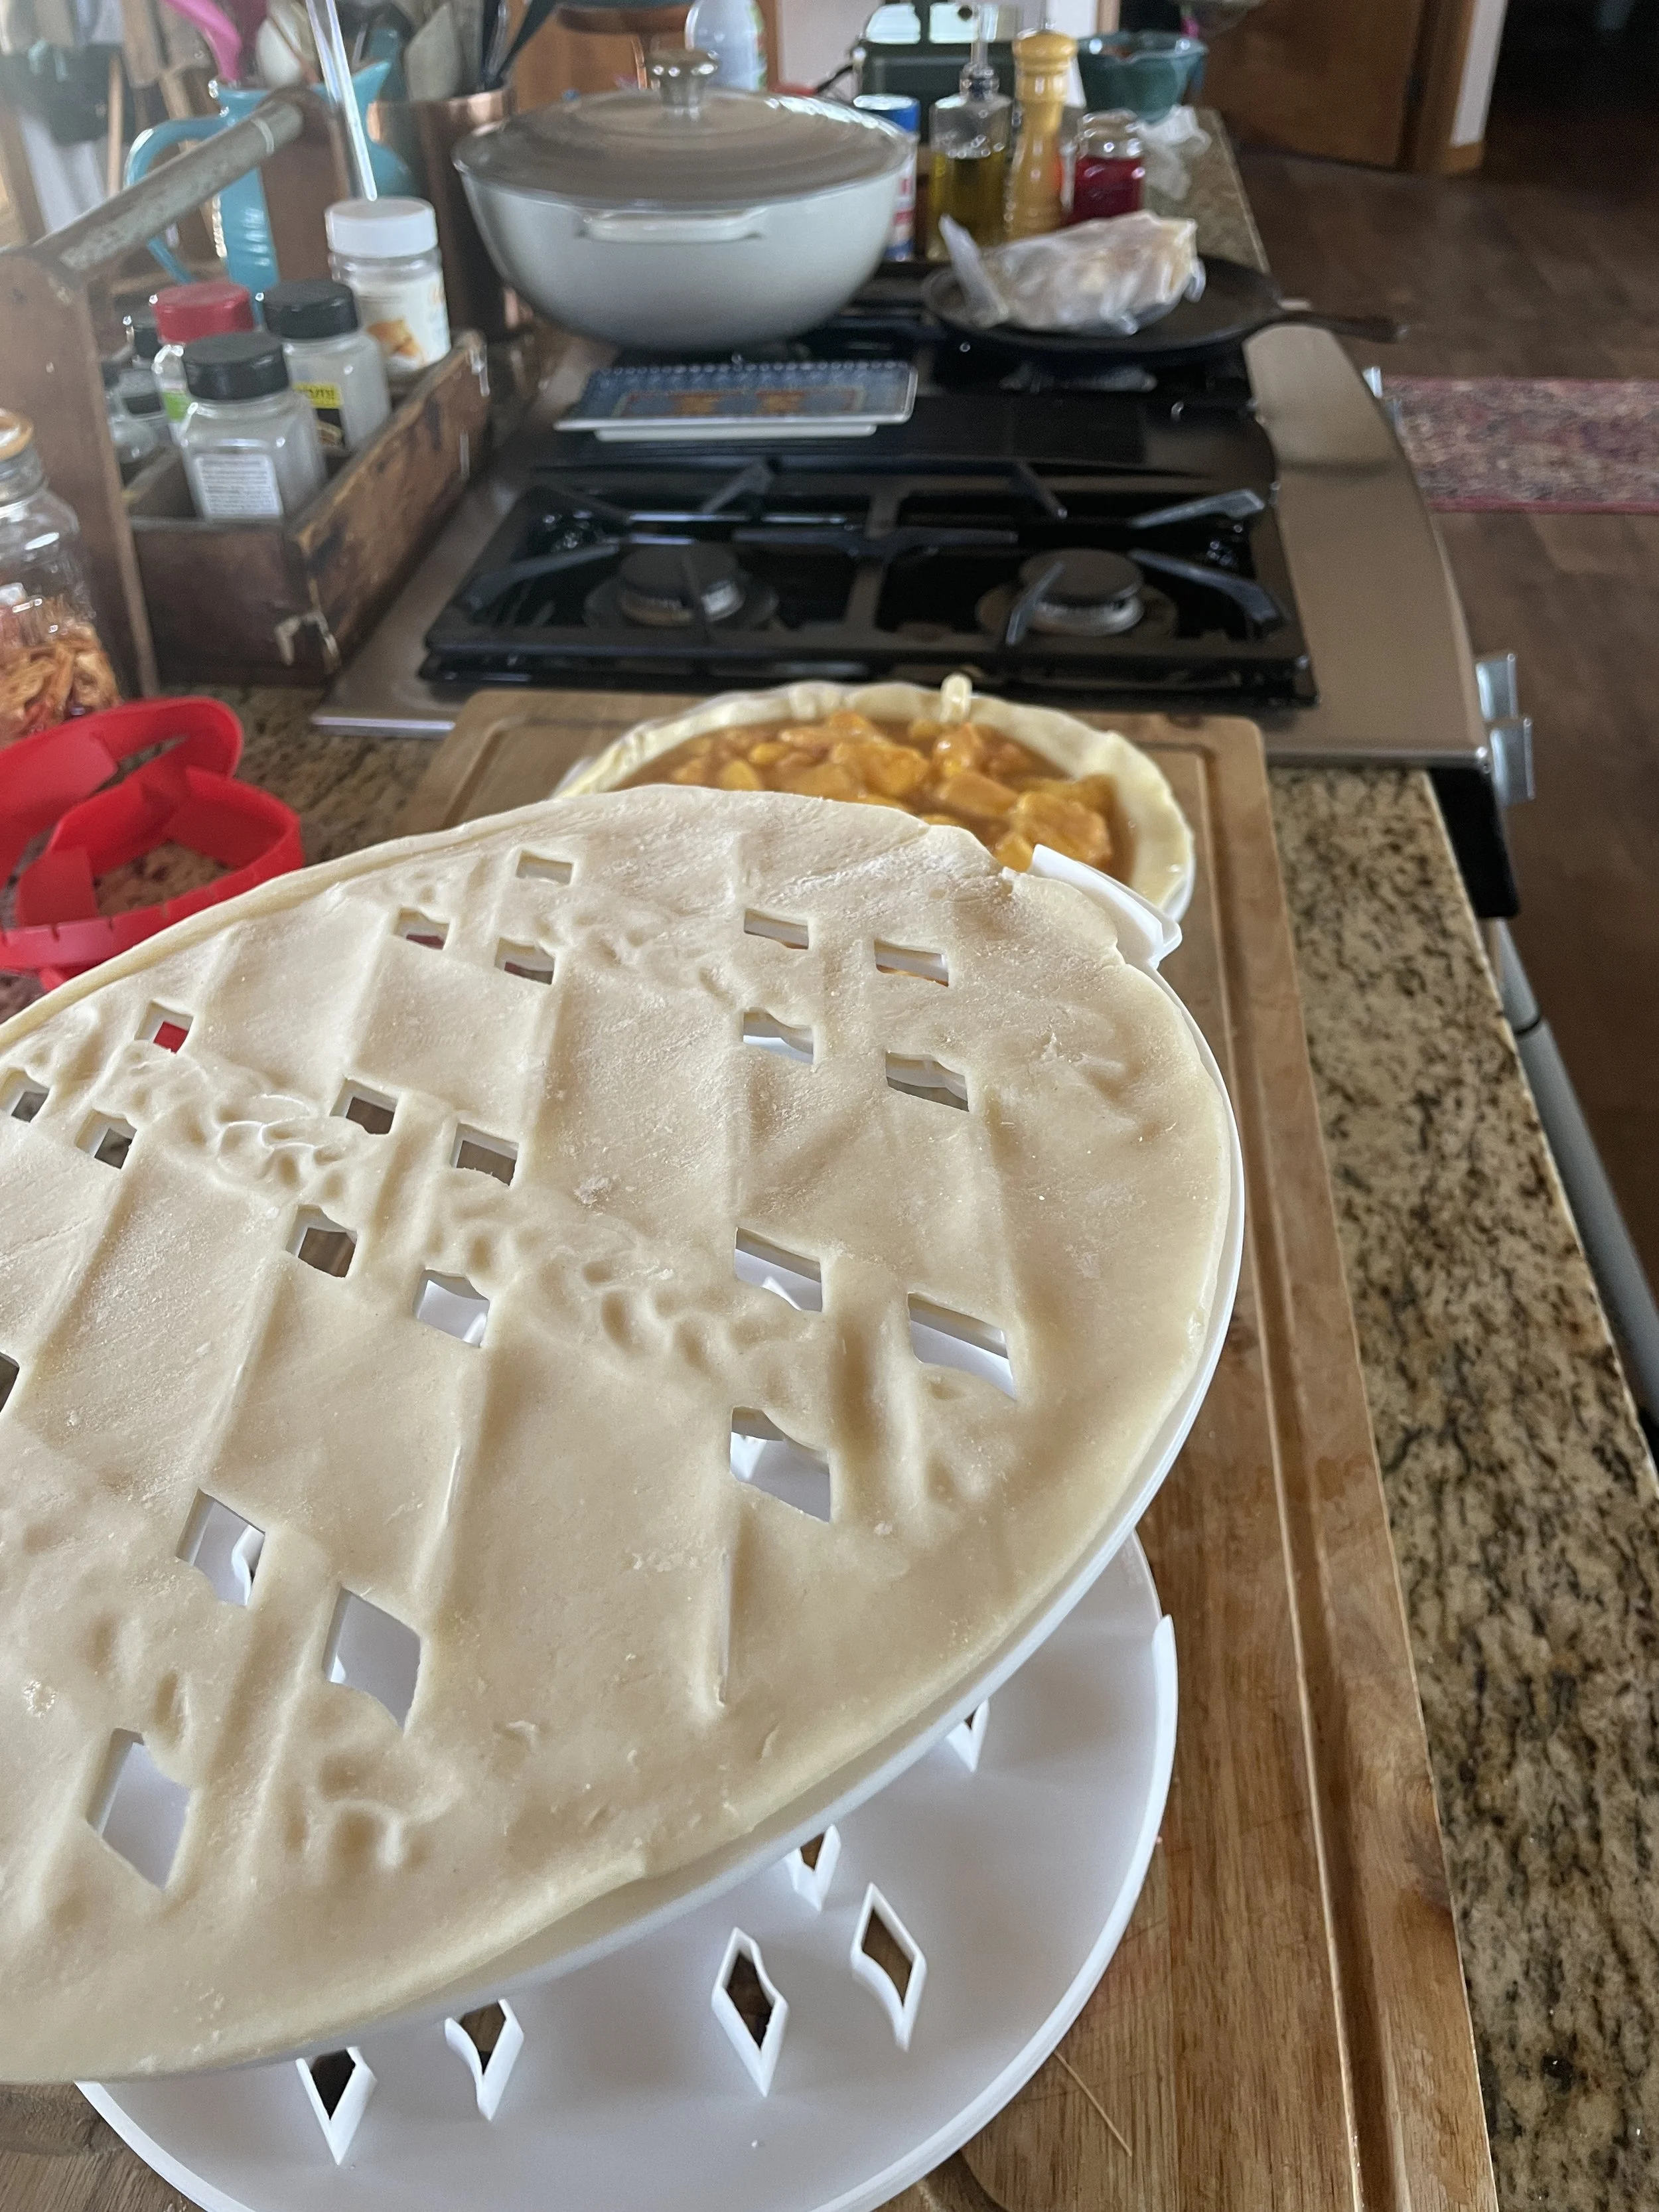
…and then flip the crust on the insert on top of your pie. Voila!
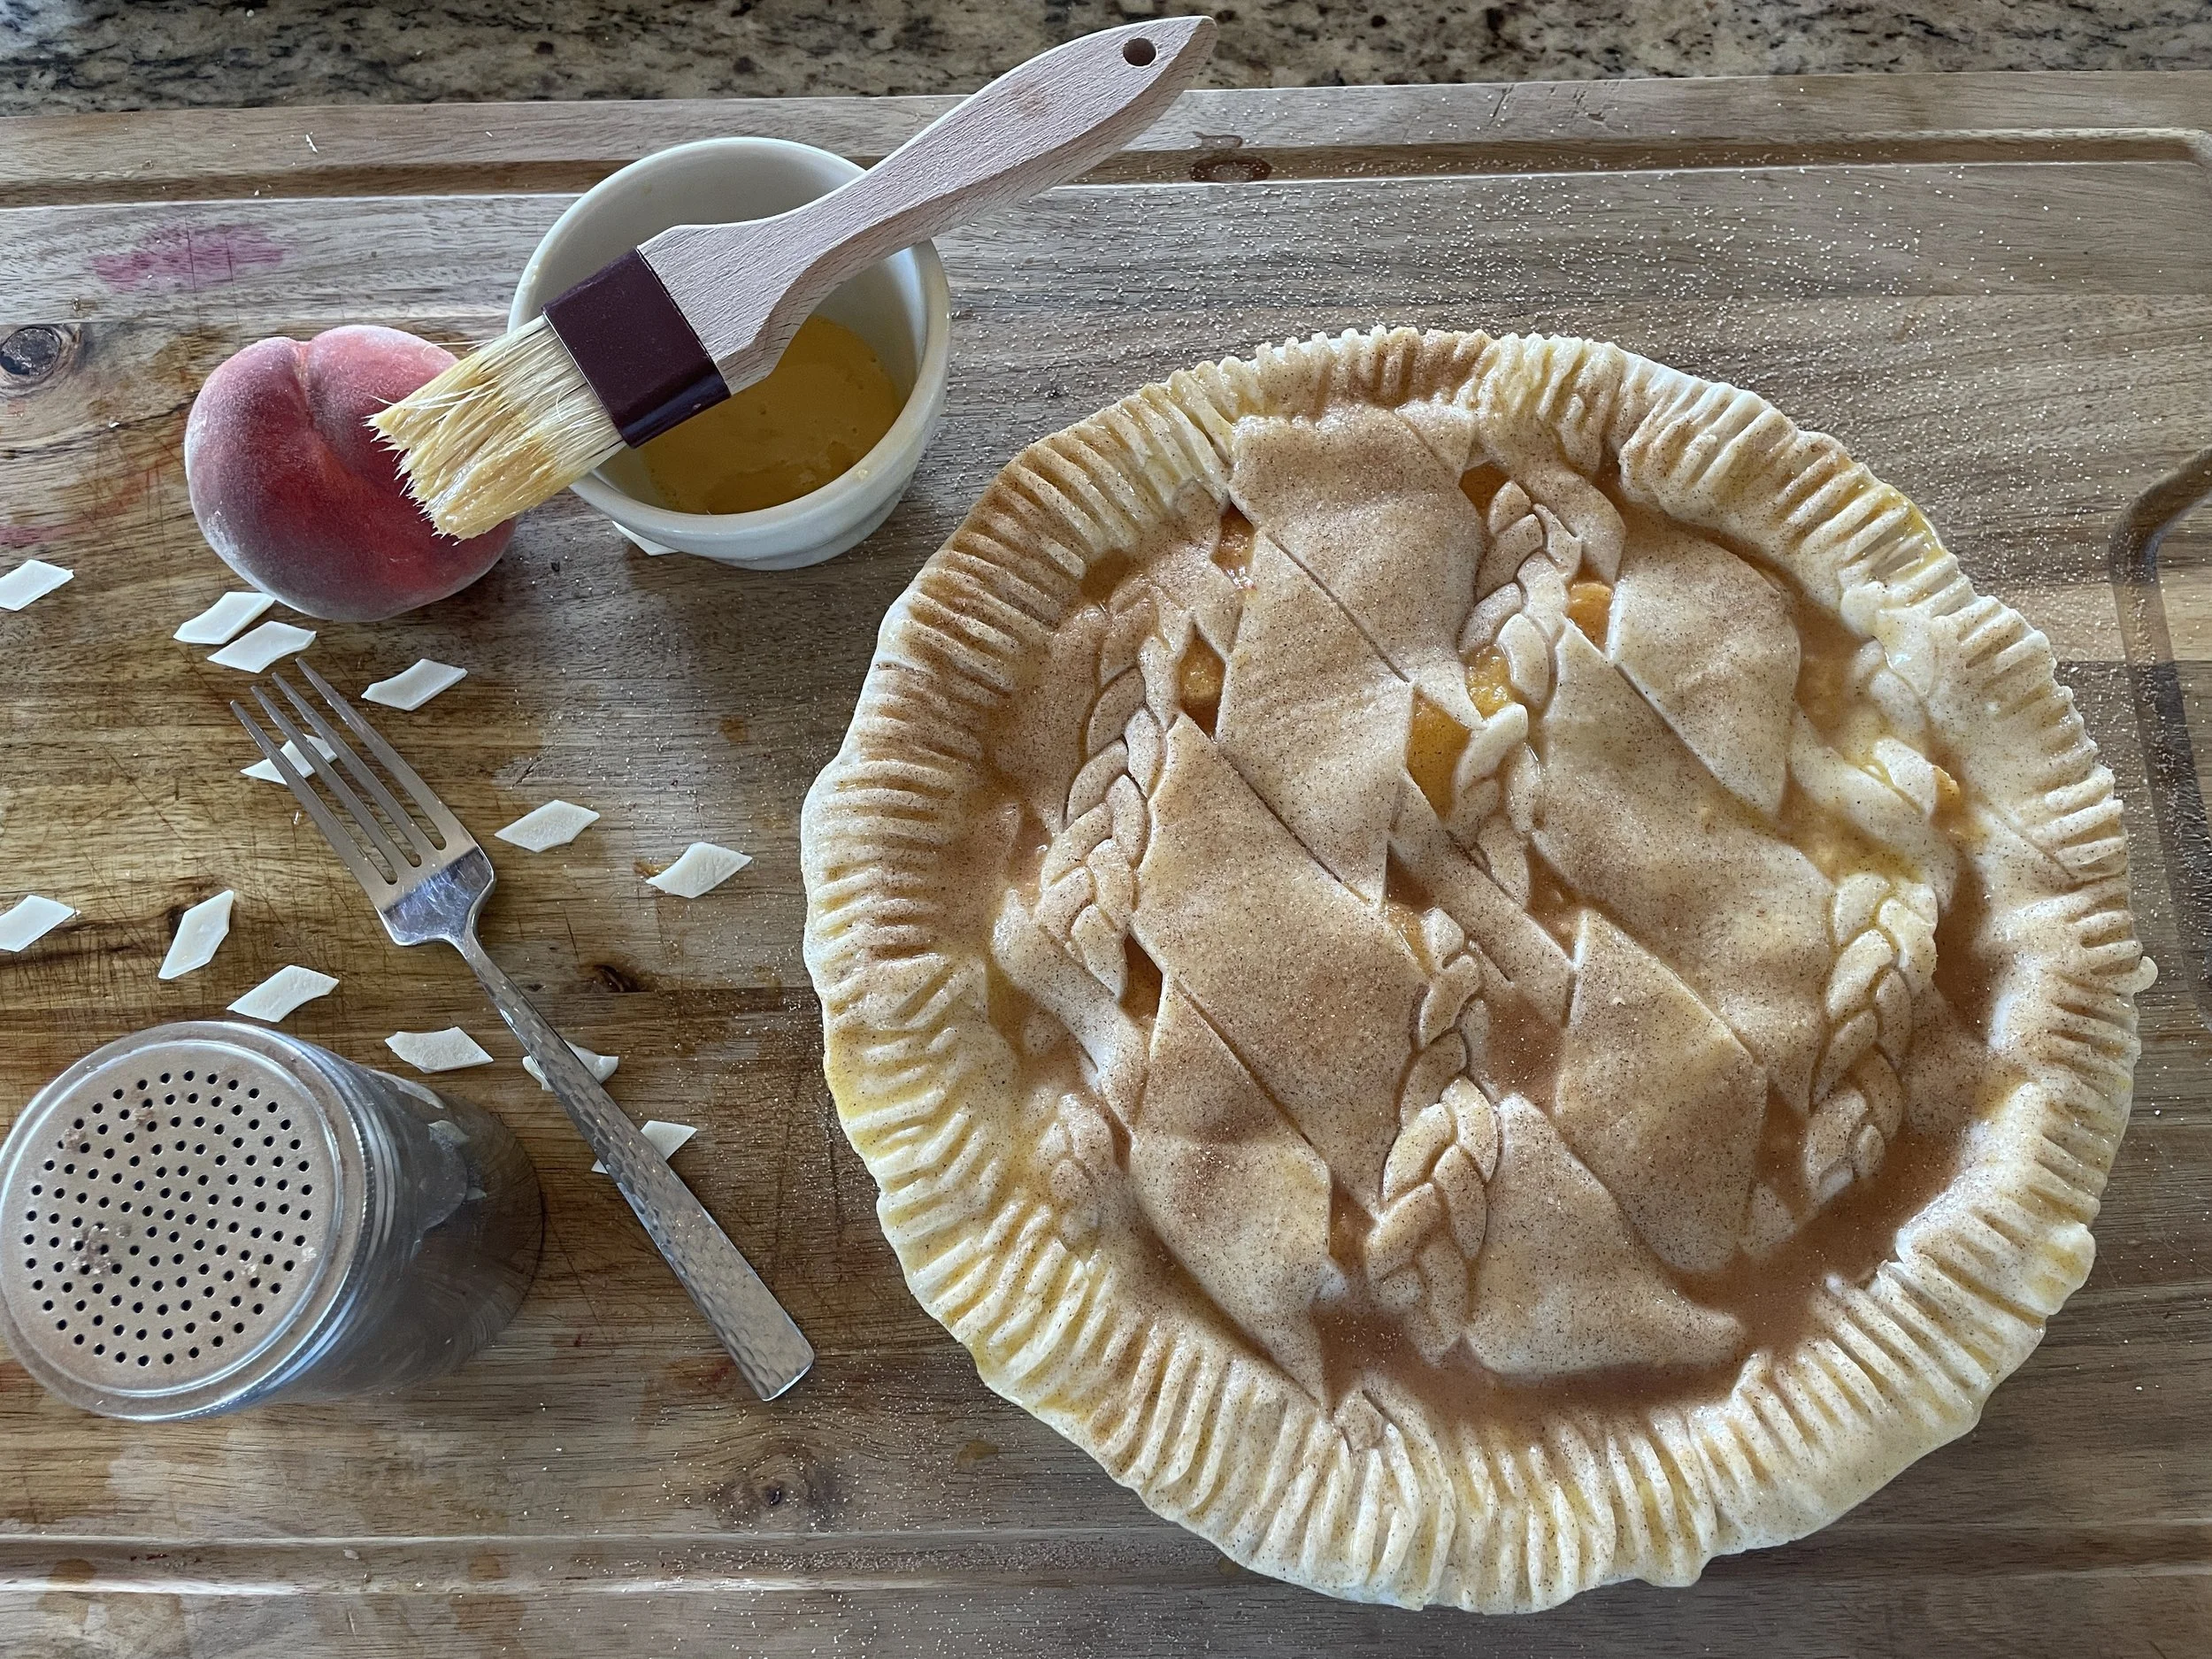
Then you just crimp the edges, brush it with egg wash, and finish with a sprinkle of cinnamon sugar! I love the little diamonds of leftover dough that are cut out of the lattice mold.
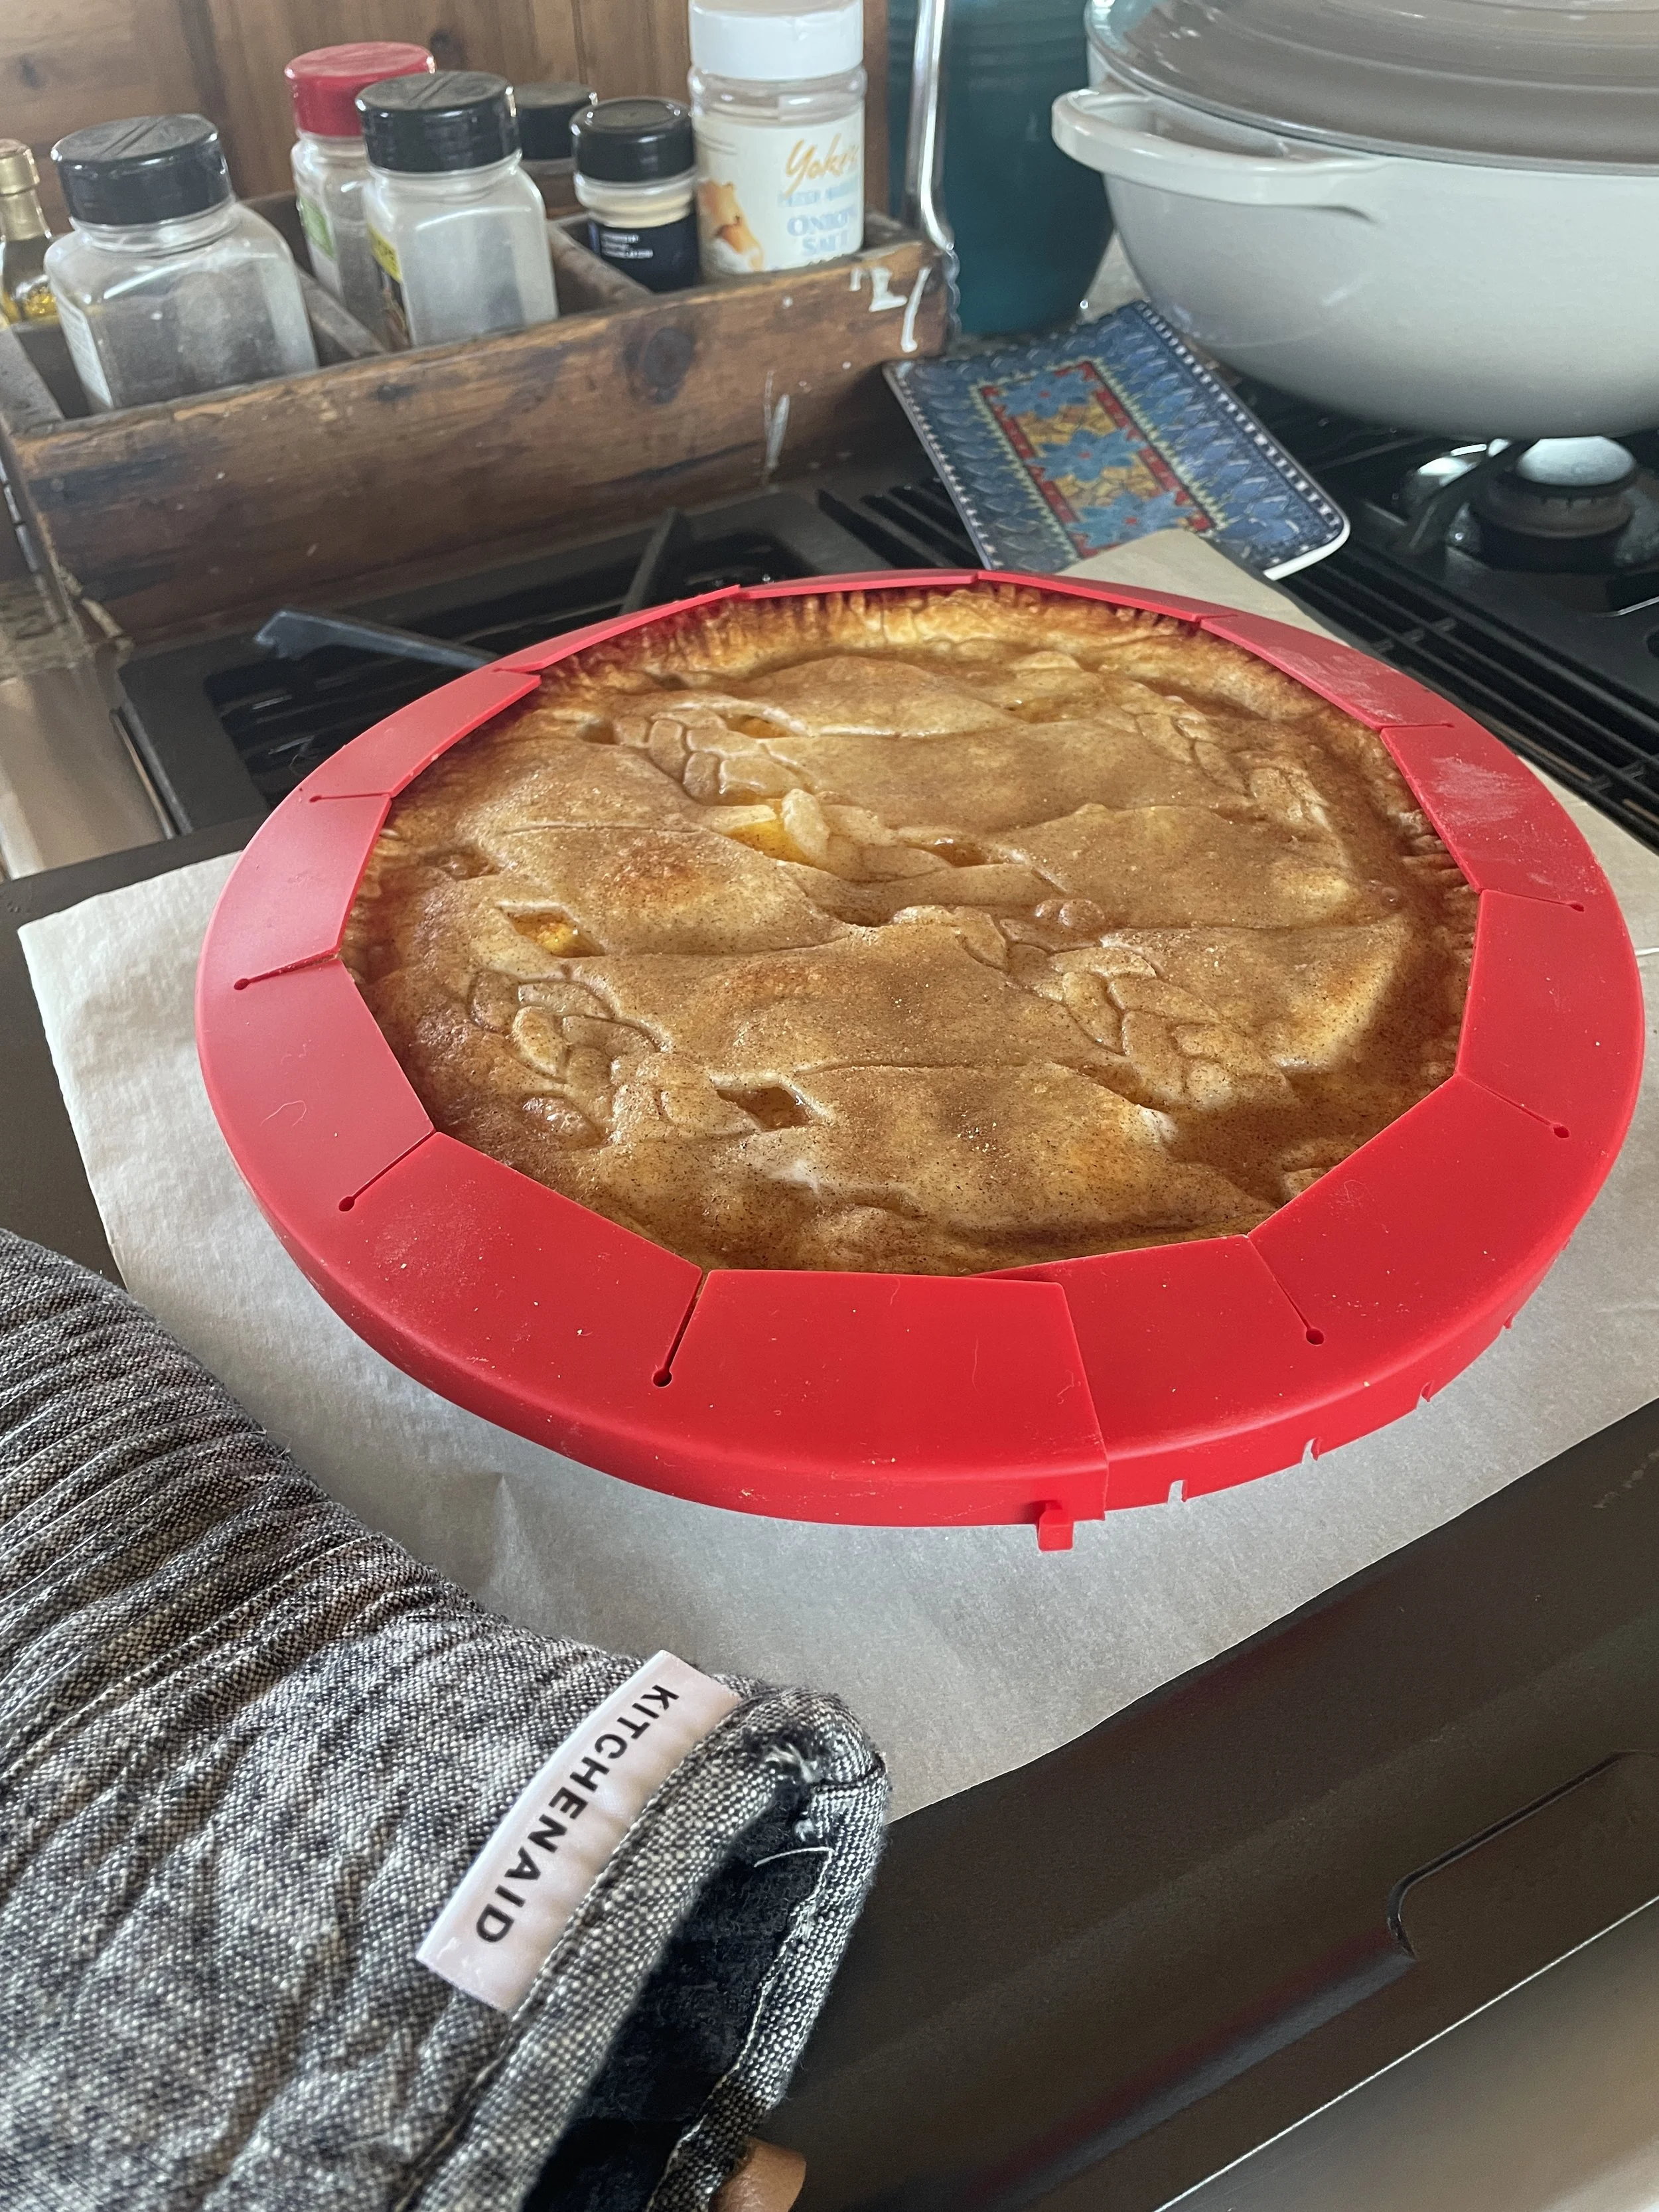
The cooking on this pie is a 4-step process: You start with 10 minutes at 450, then drop the temp to 250 for another 10. Then you add the crust cover (so the crust won’t burn, this one is silicone, and I like it because its design allows it to expand/shrink for different size pie pans) and cook for another 20 minutes. Finally, you turn off the oven, but leave the pie inside, for another 10.
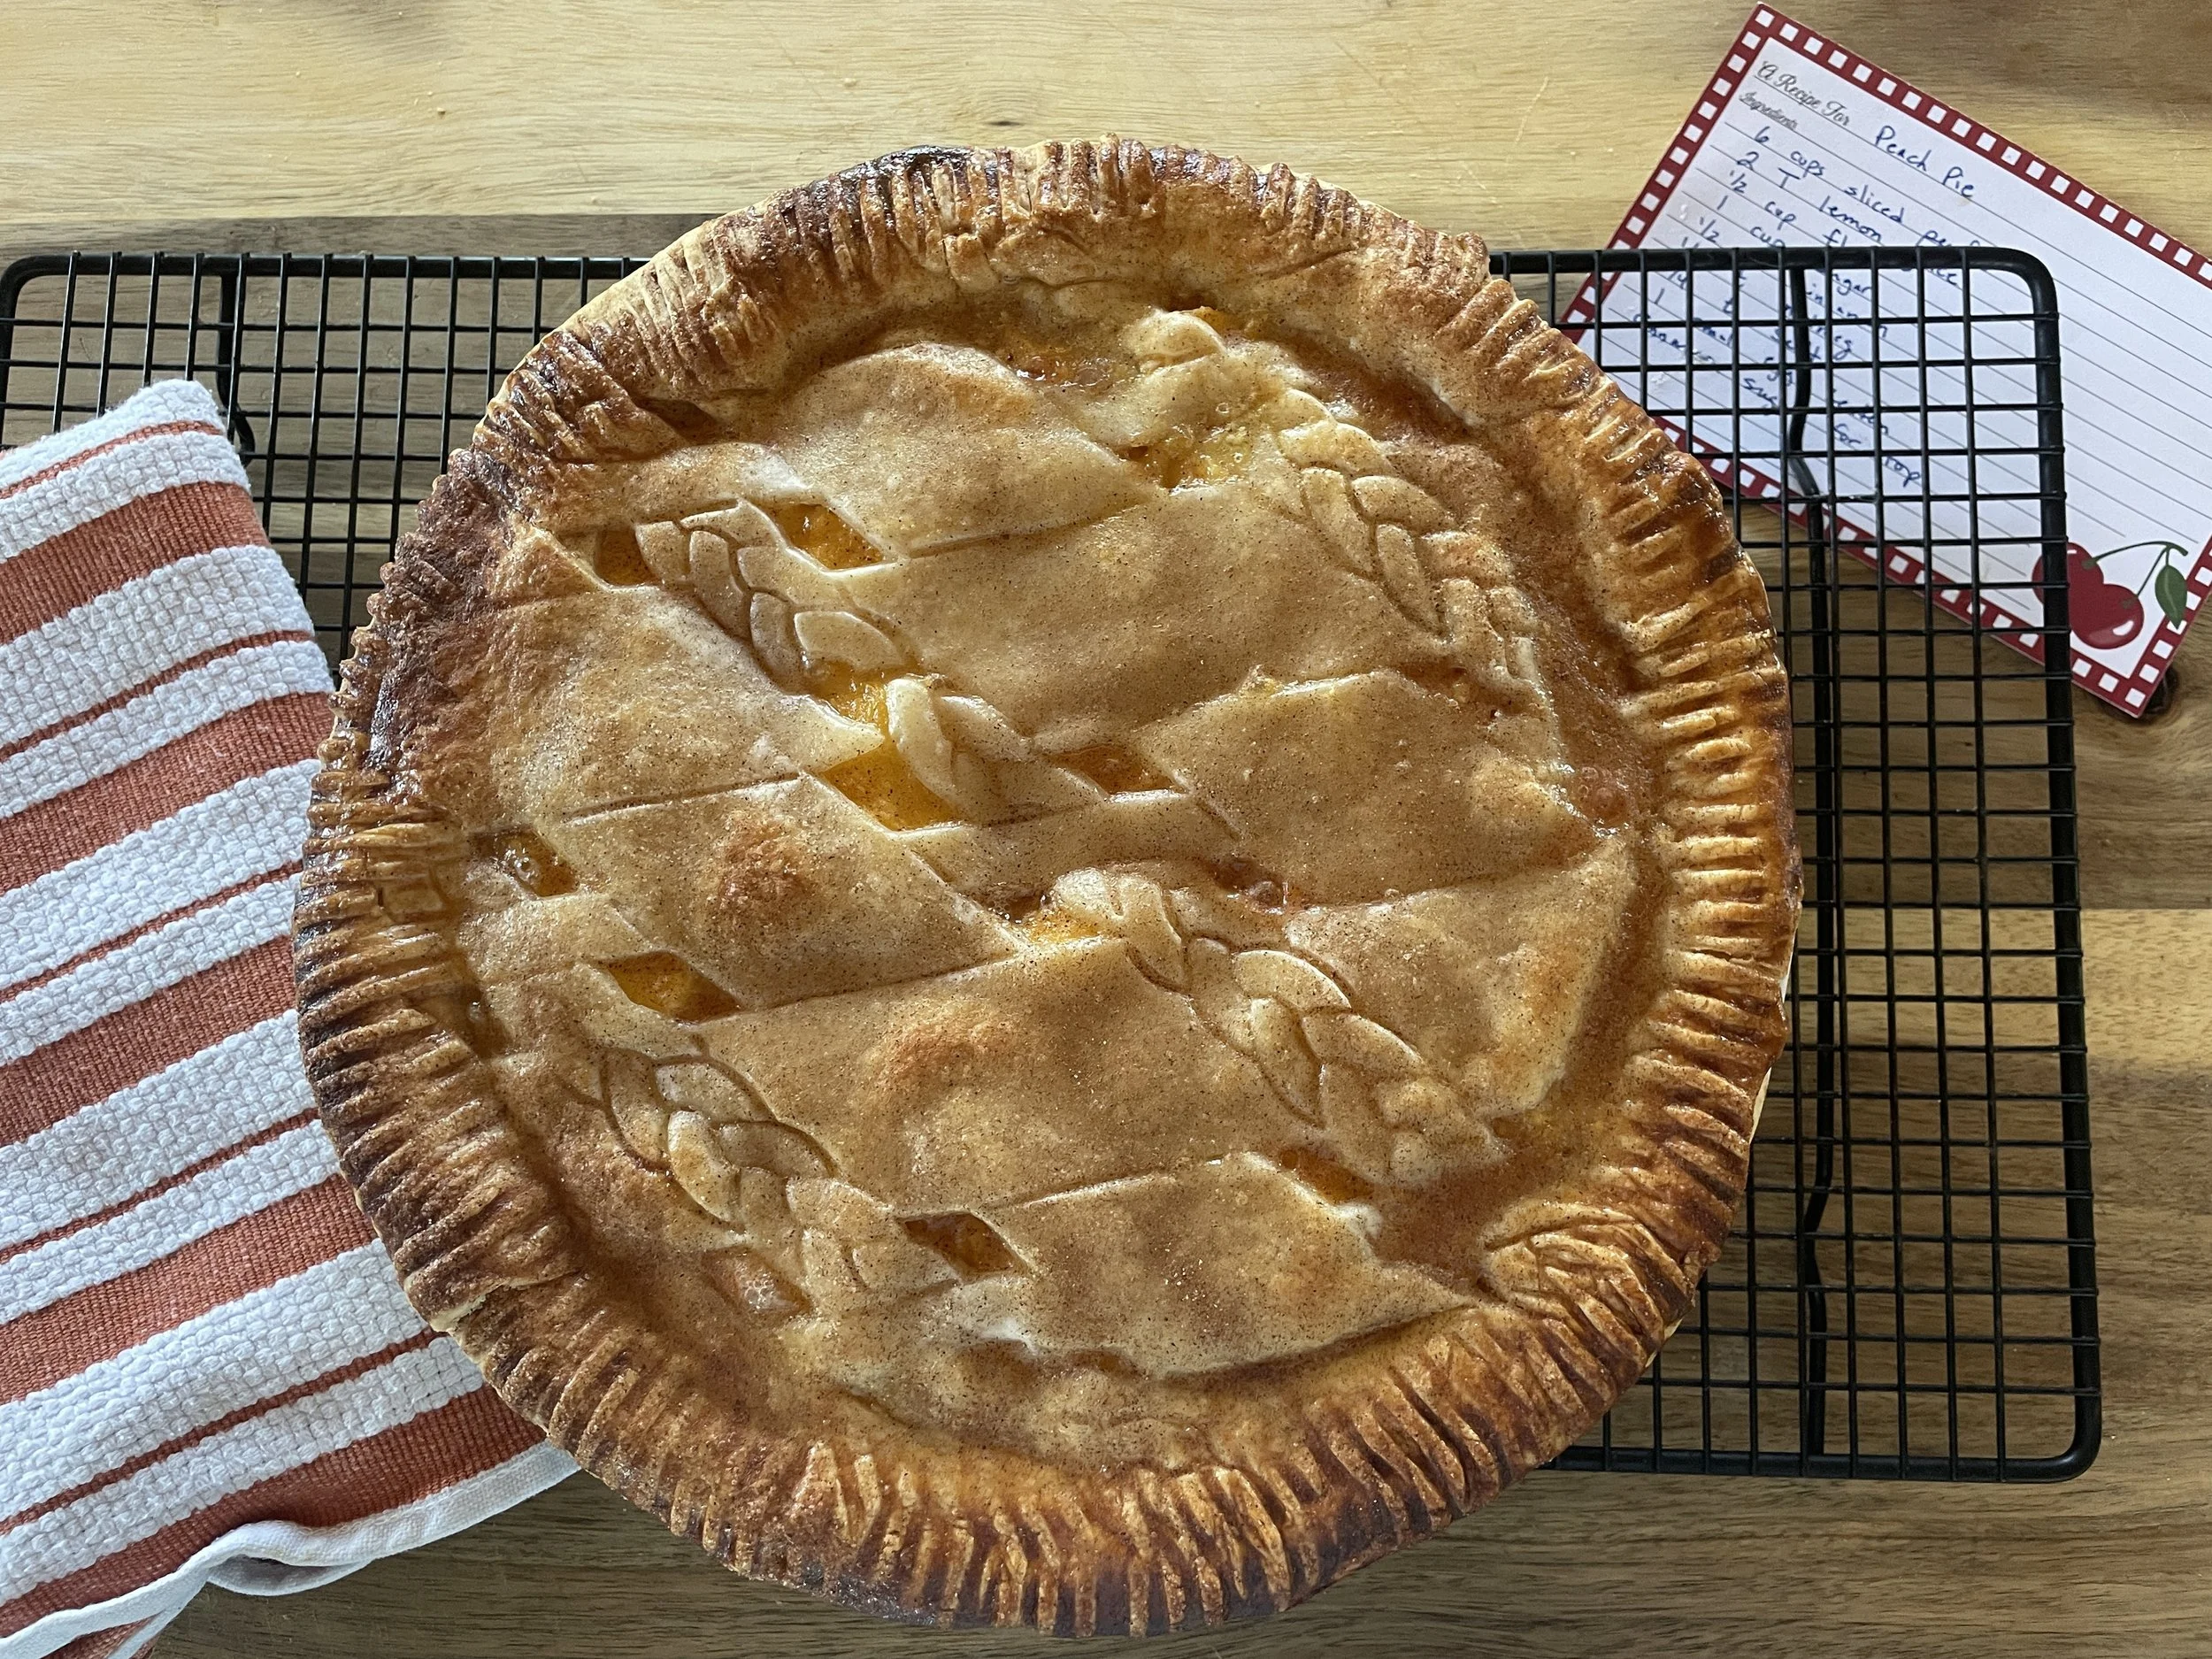
Looks terrific on the outside. Hopefully that bottom crust is cooked perfectly. If not, I simply announce that we are having “peach crumble” for dessert, and add ice cream to cover it all up!